
Let’s go back for a little bit to the Summers of your childhood.
Swimming and splashing all day until the sun begins to set. By then the grill is loaded with all the BBQ favorites and mouthwatering scents fill the smoky air.
Finally, the long-awaited dinnertime is here. You excitedly head straight for your favorite – sweet corn on the cob with a HUGE pat of butter, of course!
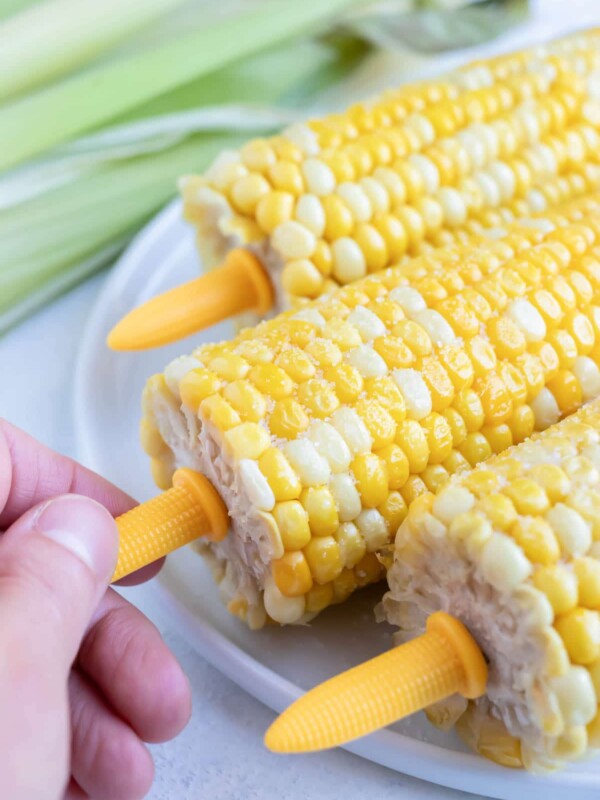
One thing’s a given, those mini yellow plastic corn holders are there to keep your hands clean. (Does anyone else still use those?!)
But now that we’re all grown up, it’s up to us to learn how to cook corn on the cob.
The best way to make crisp yet tender and flavorful corn is definitely by boiling it. And you’ll learn how to make the most delicious corn on the cob in this simple step-by-step guide!

How to Choose the Best Corn on the Cob
In order to make the absolute best corn on the cob, you need the best corn!
- Find the freshest corn you can. Farmer’s markets are your best bet for this as it’s normally picked that morning.
- Choose organic corn if possible. Not only is organic produce a healthy choice, but it also has way more flavor!
- Look for tightly wrapped bright green husks. The greener the better, husks turning yellow or brown are not as fresh.
- Feel the stems and tassels, they should be slightly moist. If they’re dried out, the corn inside could be as well.
- Check to make sure there are no holes in the husks. This can indicate bugs inside. (Ew!)
How to Boil Corn on the Cob
Below you’ll find the simple step-by-step directions to boiling corn.
Shuck the Husks
No matter what you call it, shucking, husking, or peeling, it’s all the same. The end goal is simply removing the husks along with the silky strands of fiber between the kernels.
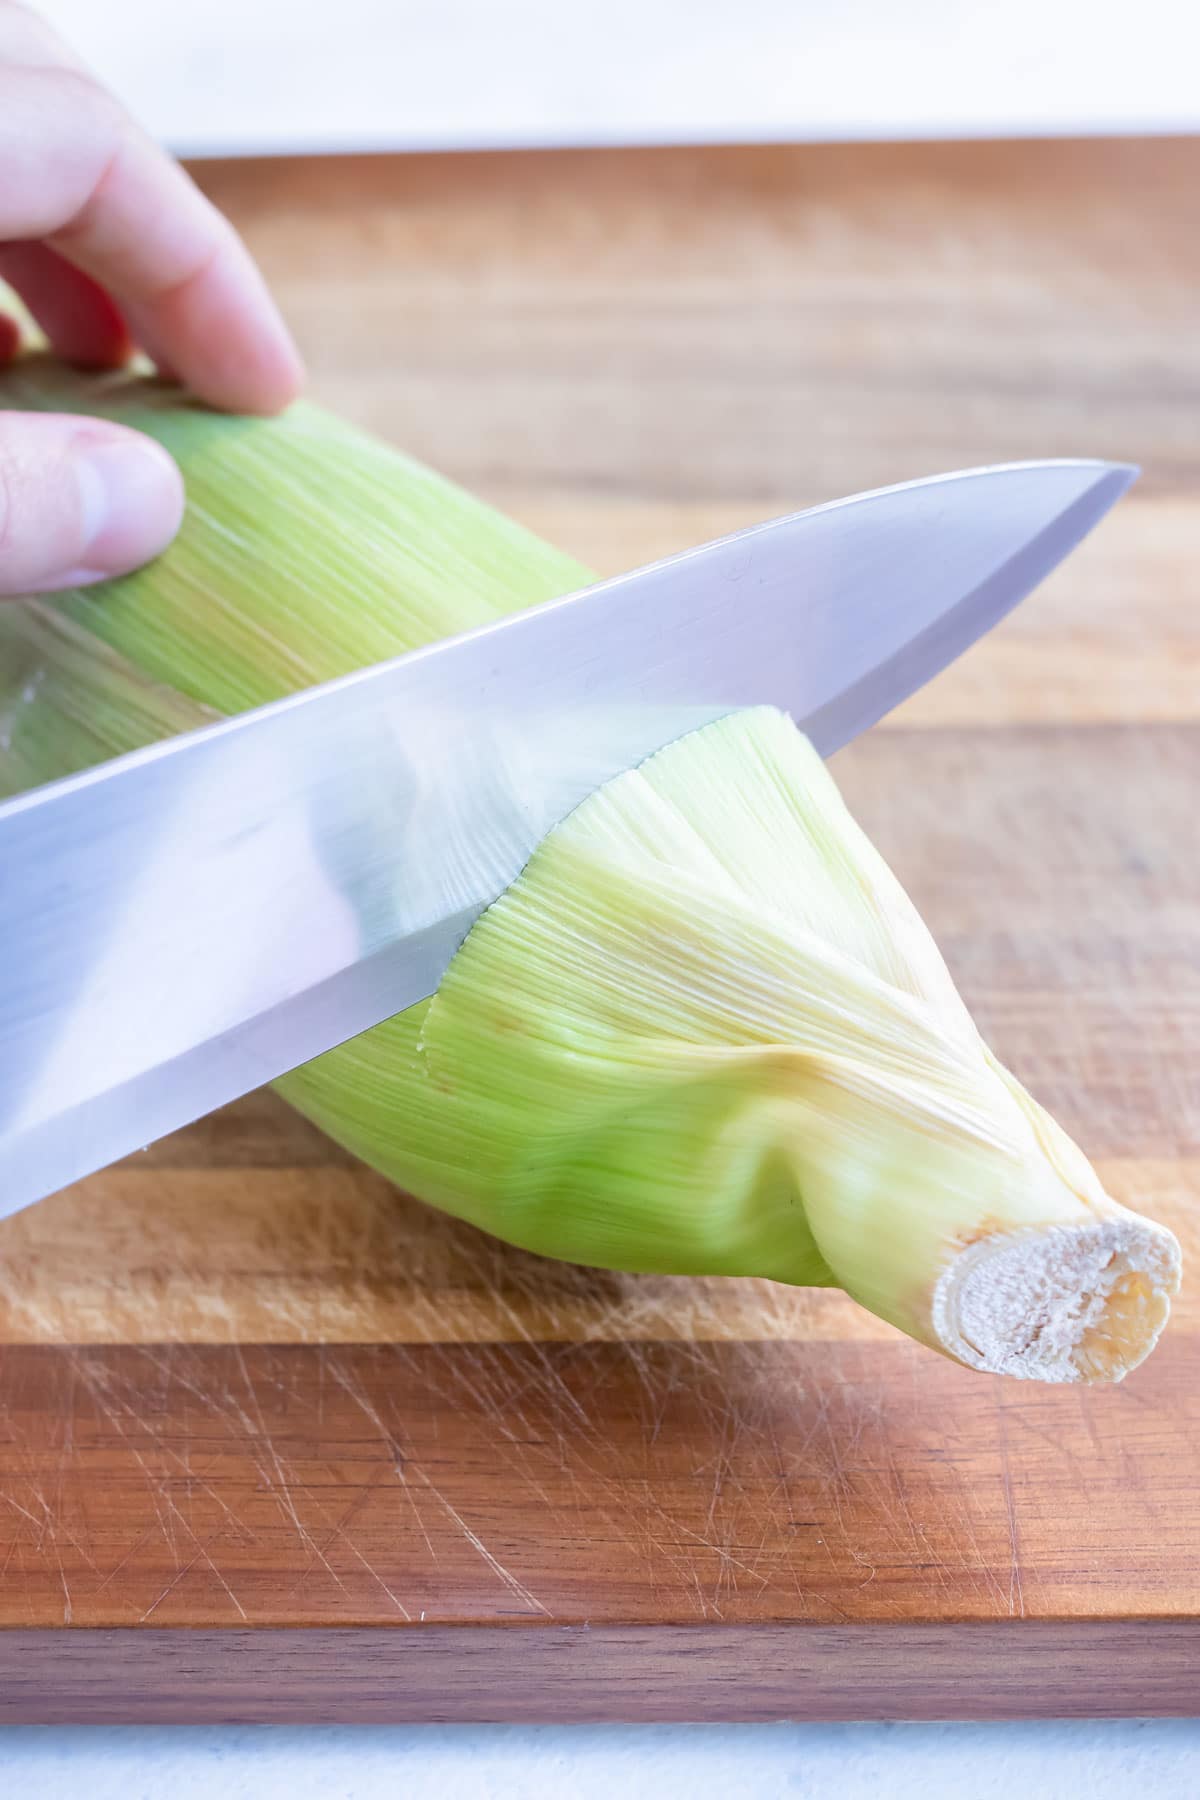
First, you need to trim the ends. Feel for the junction where the stalk meets the corn and use a knife to cut the tip of the husk off.
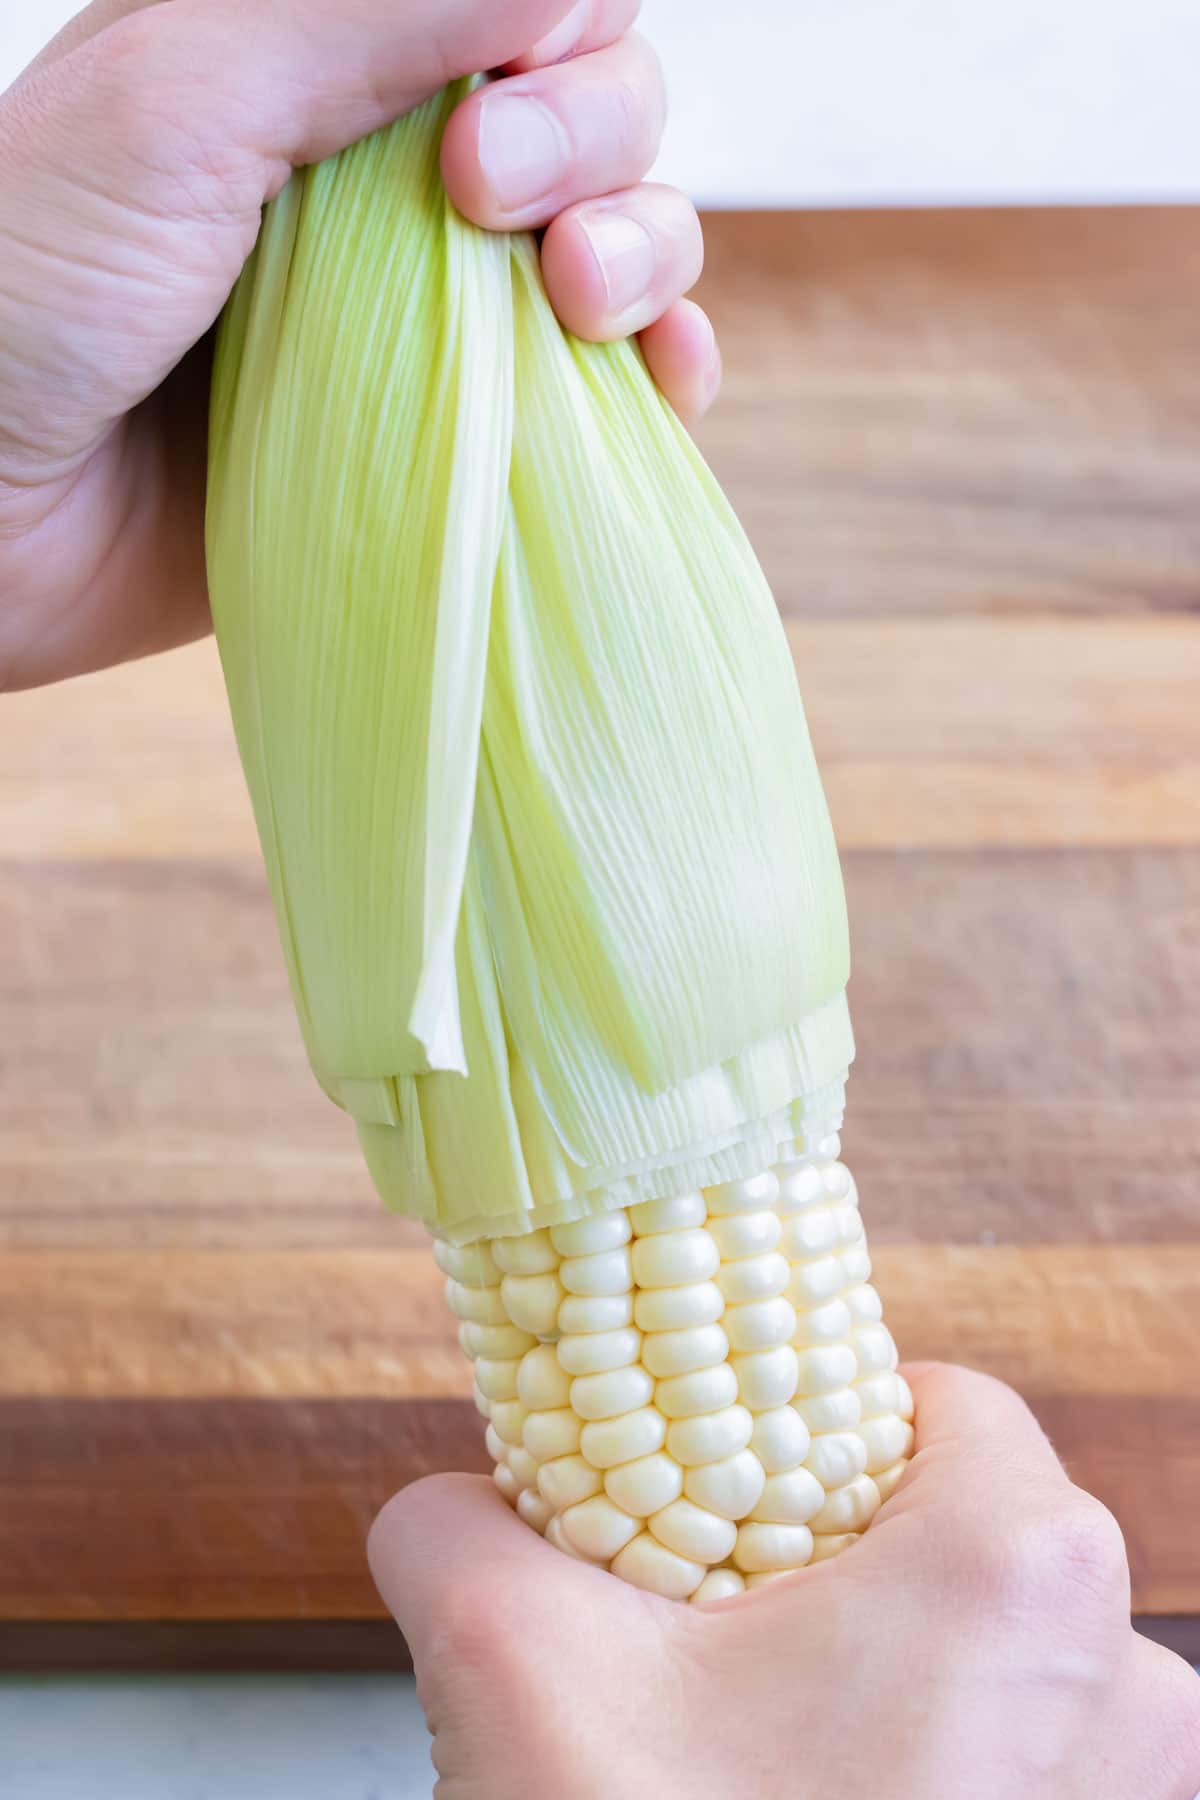
Then, peel the husks back. Don’t pull them off completely, you still want something to grab onto.
Pull off the husks by grabbing onto the tip and gently pulling them down in one piece. The silks should come off with it.
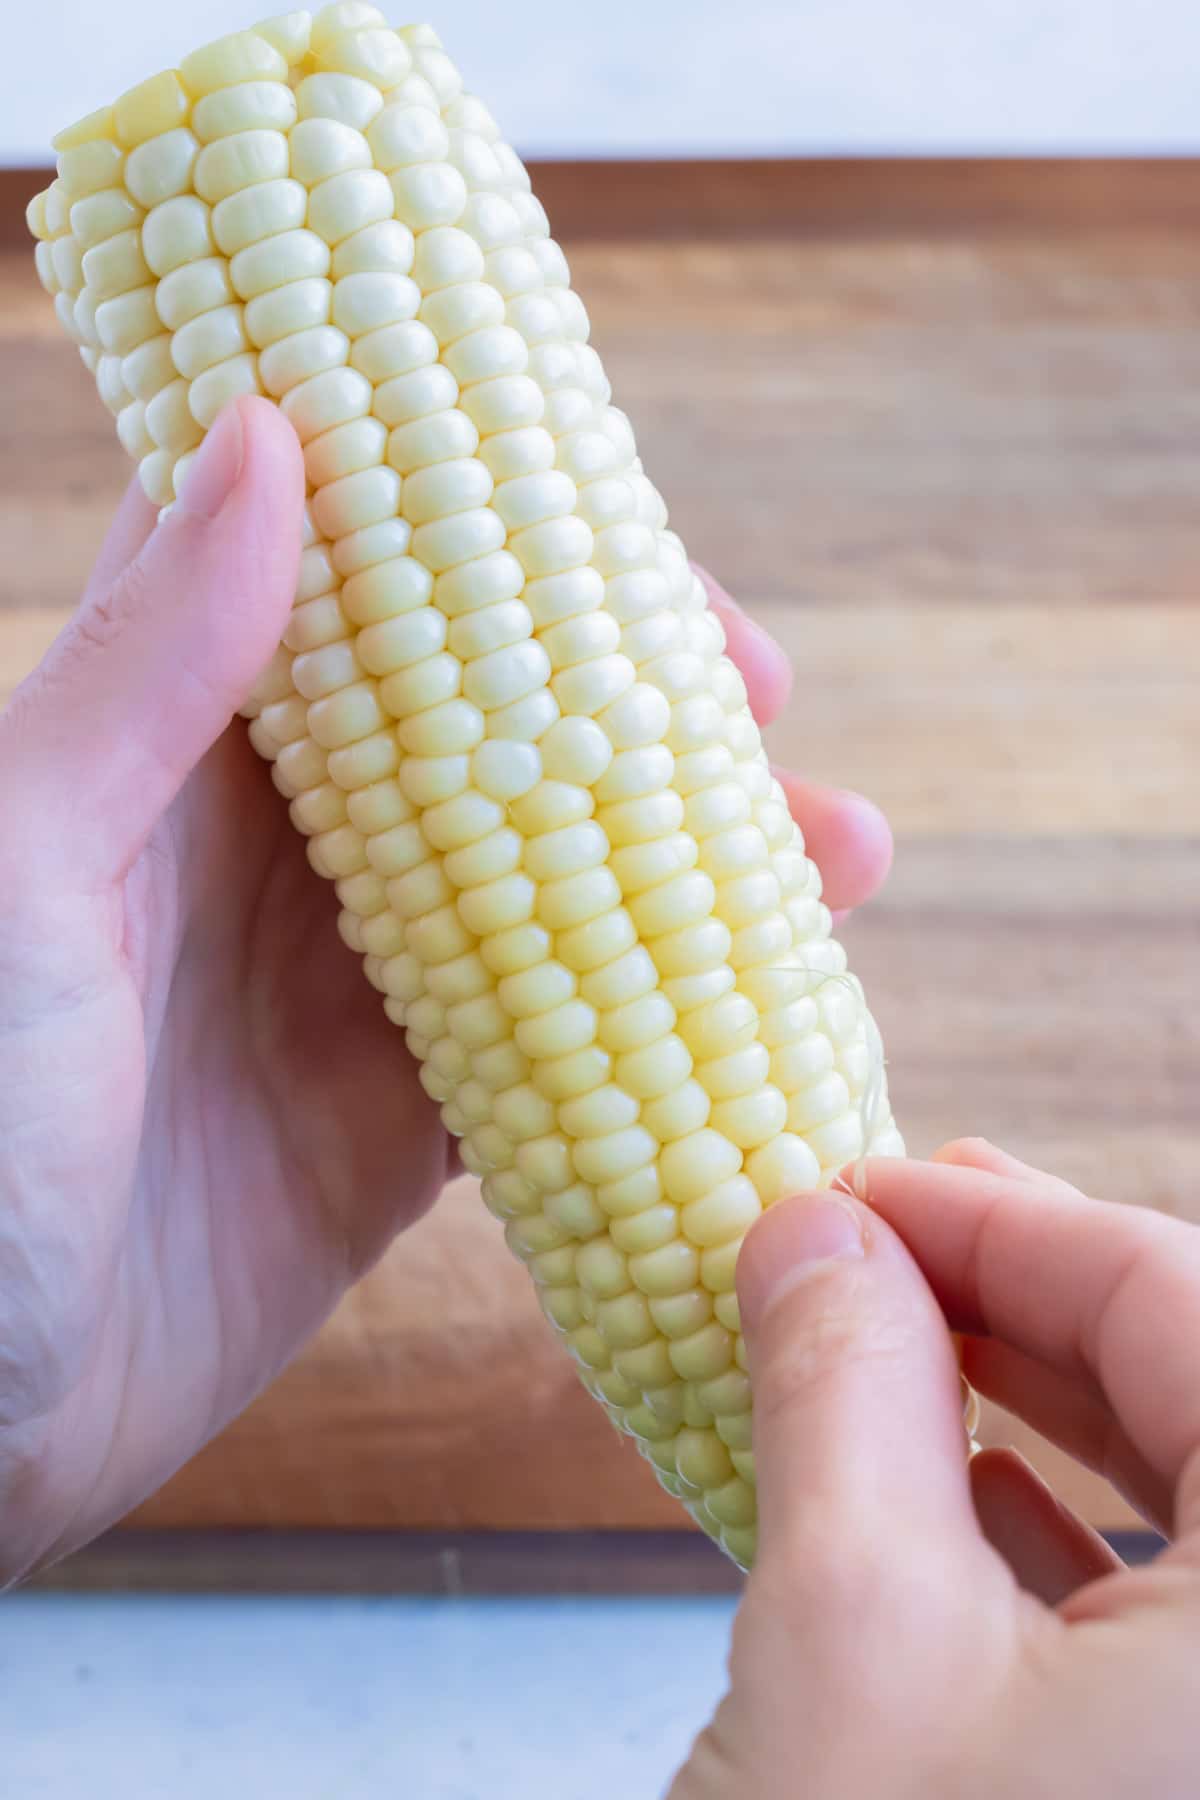
Pick off any remaining silk strands between the kernels. It’s not a big deal if some are still on as they’ll fall off while boiling.
An alternate method is to pop them in the microwave for 1-2 minutes before peeling. This helps to soften the husks so they can be removed more easily.
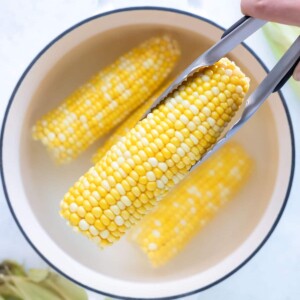
Boil the Corn
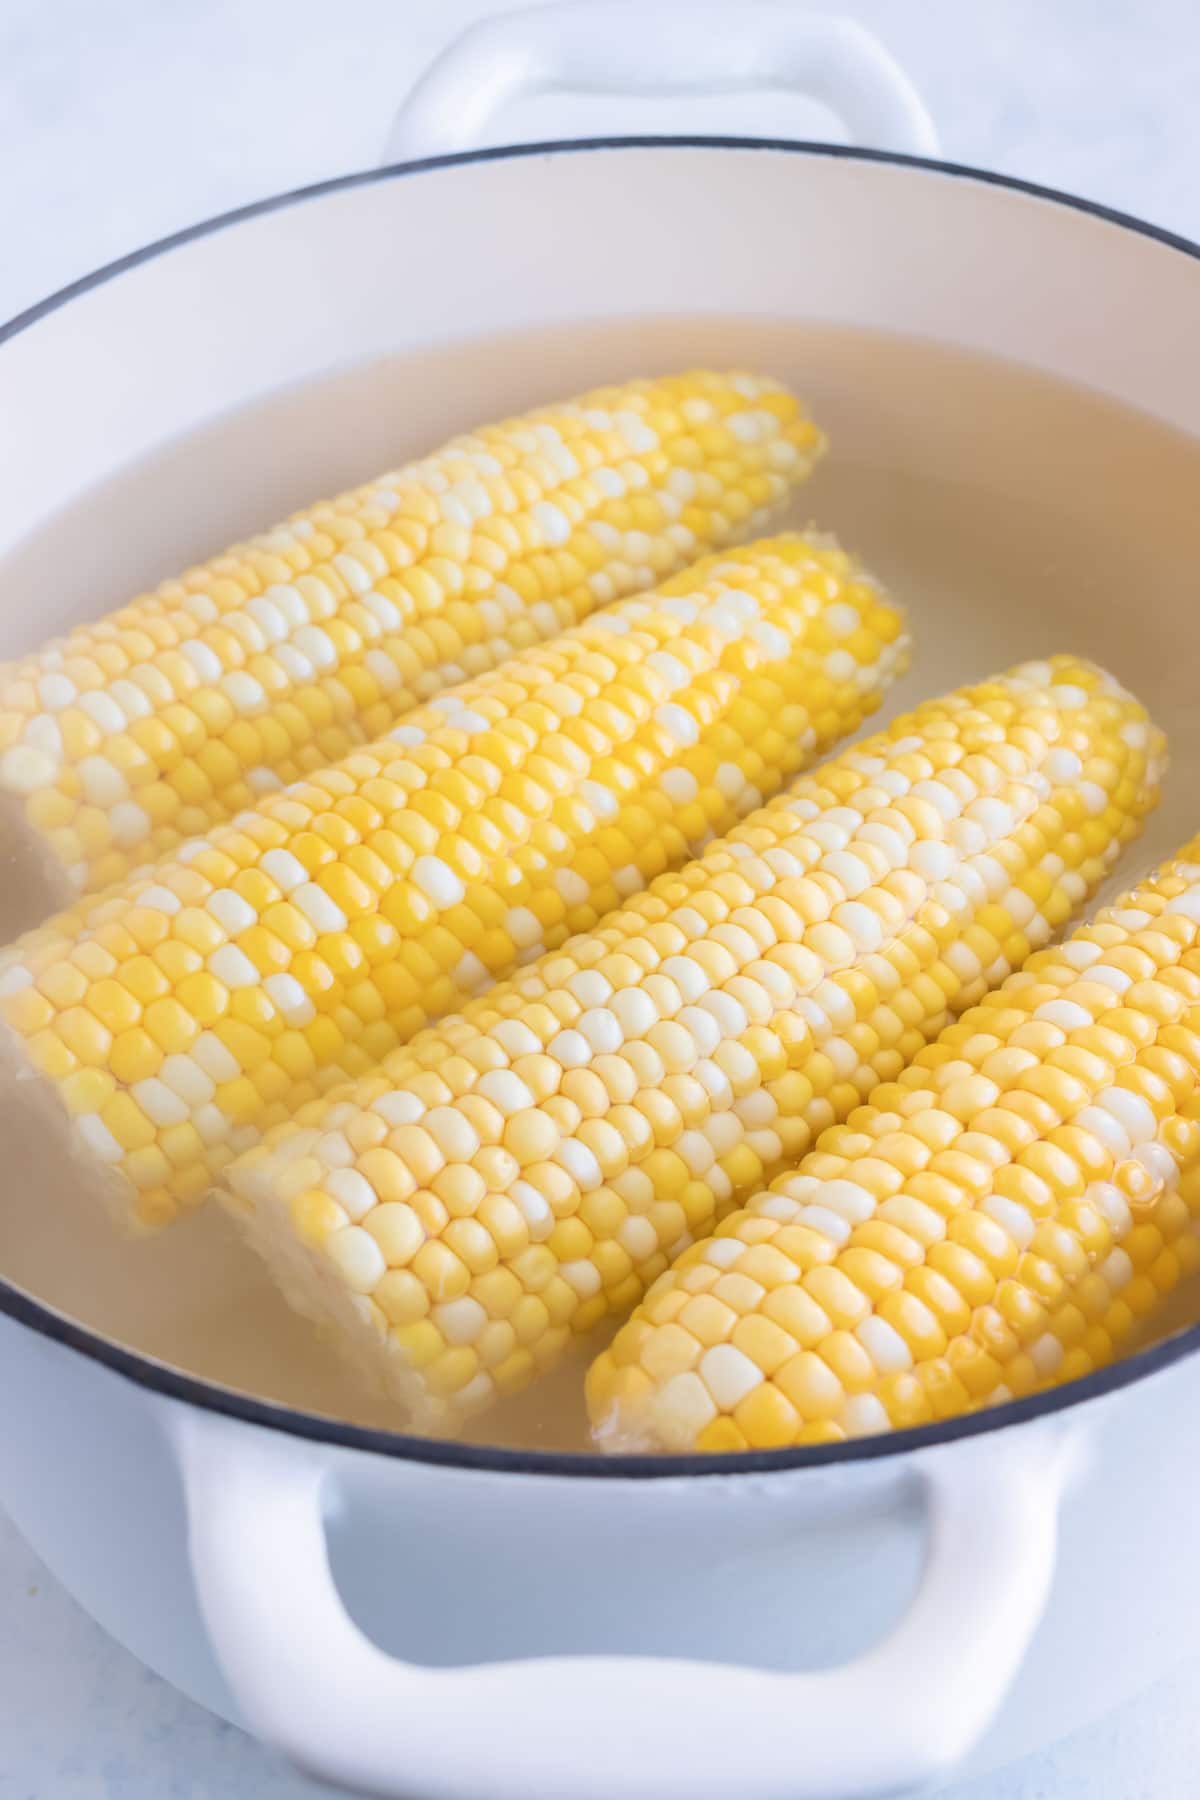
Bring a large pot of water to a boil. Do not fill the pot more than ⅔ full. You want some room to add the corn without it overflowing. Add corn cobs to the pot.
Return to a boil then reduce heat to medium. Simmer for 5 minutes if you’re adding the corn to another recipe that will be cooked. If you’re eating the corn immediately, cook for 7-8 minutes.
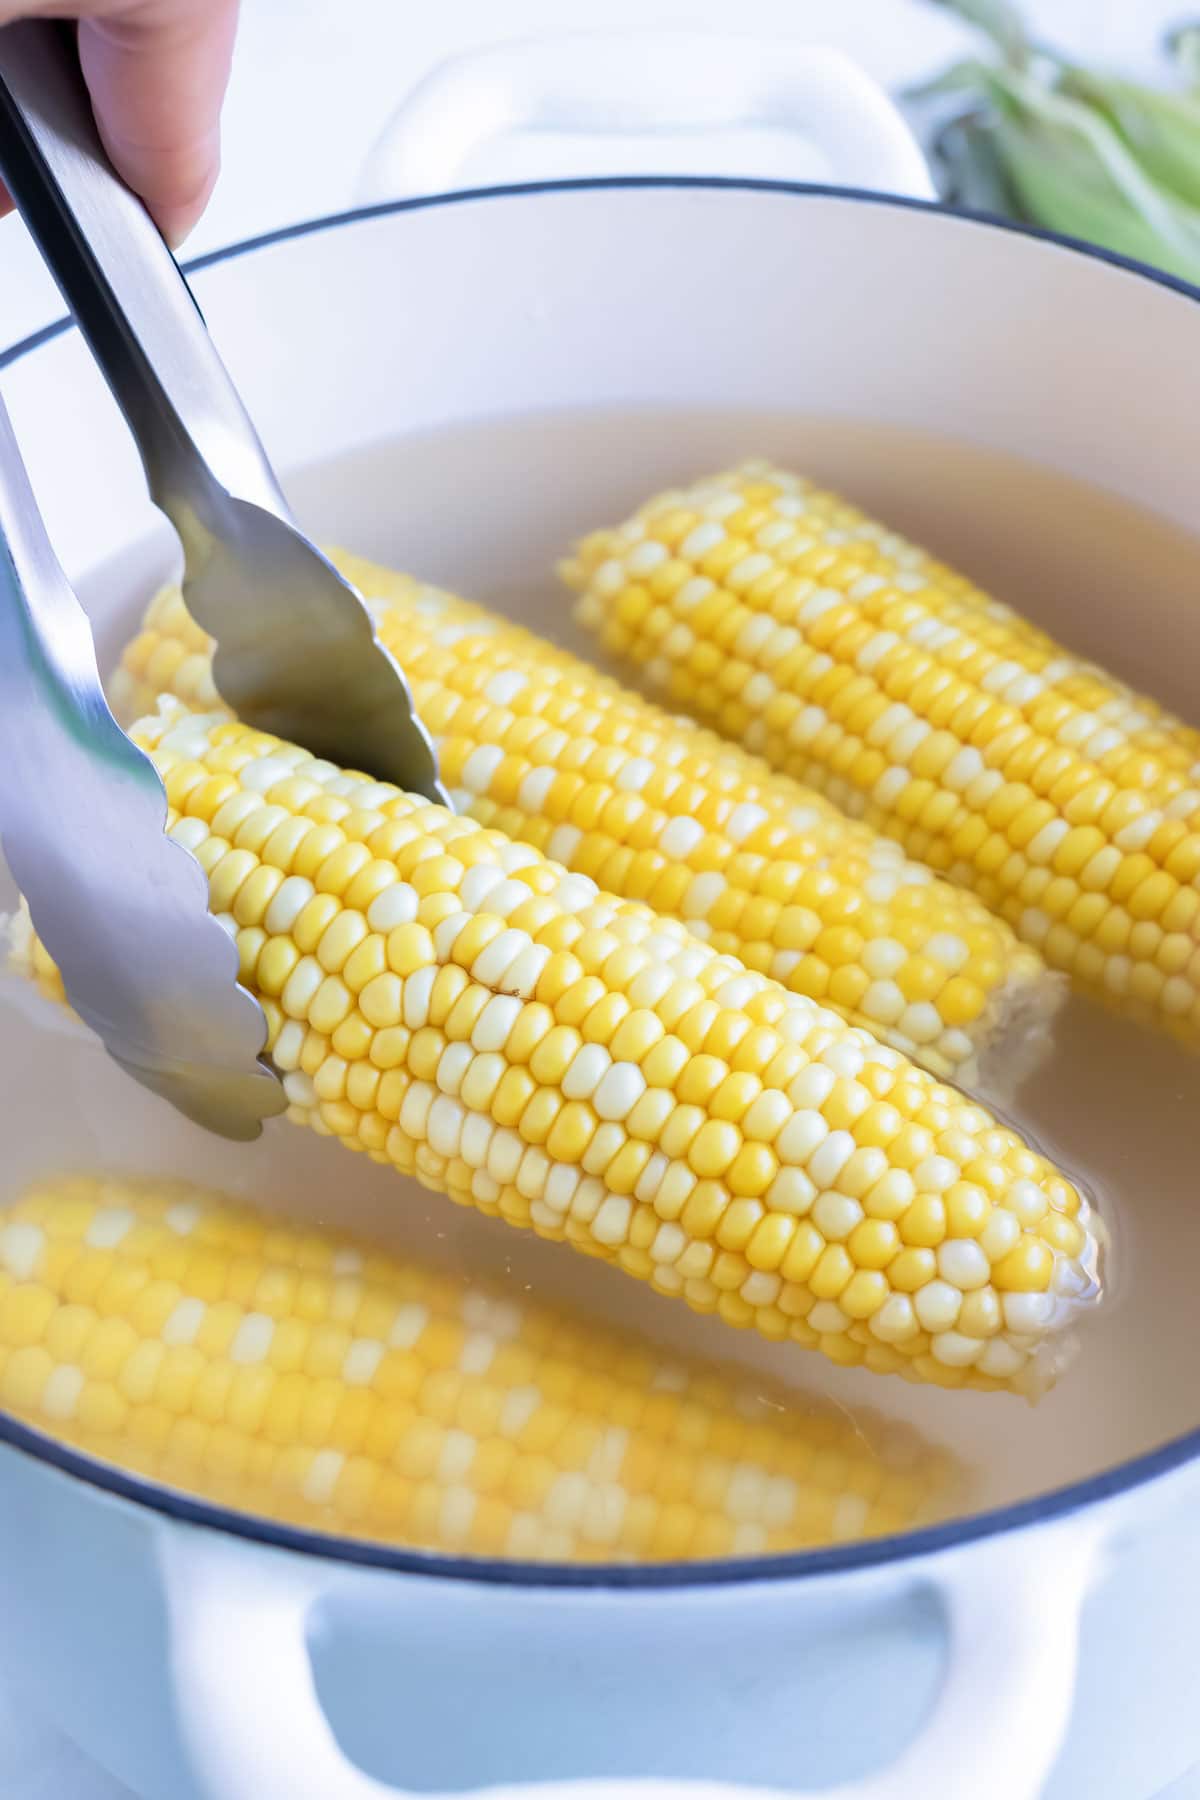
Flip the corn halfway through. Carefully turn the corn so that both sides cook evenly.
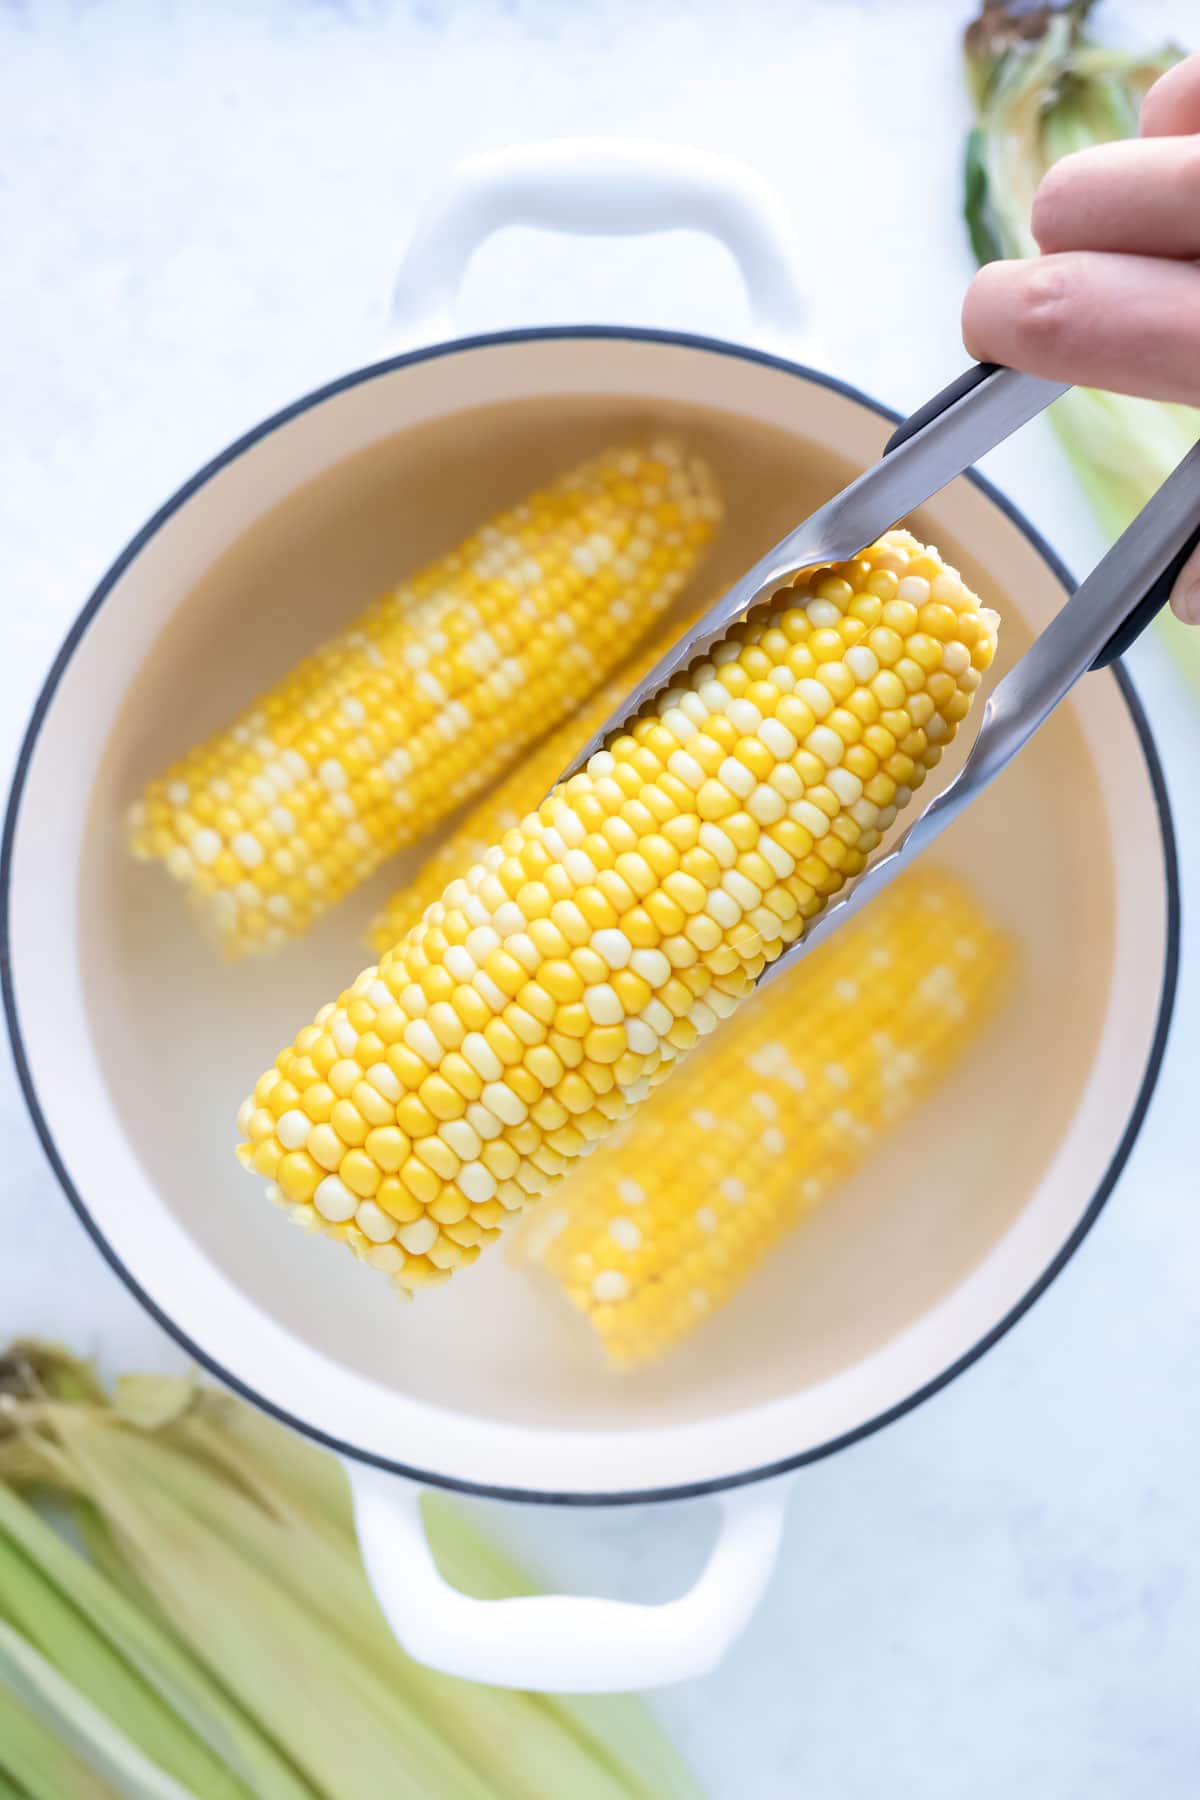
Remove from pot when tender. Use a slotted spoon or tongs to avoid burning yourself.
Serve with Butter
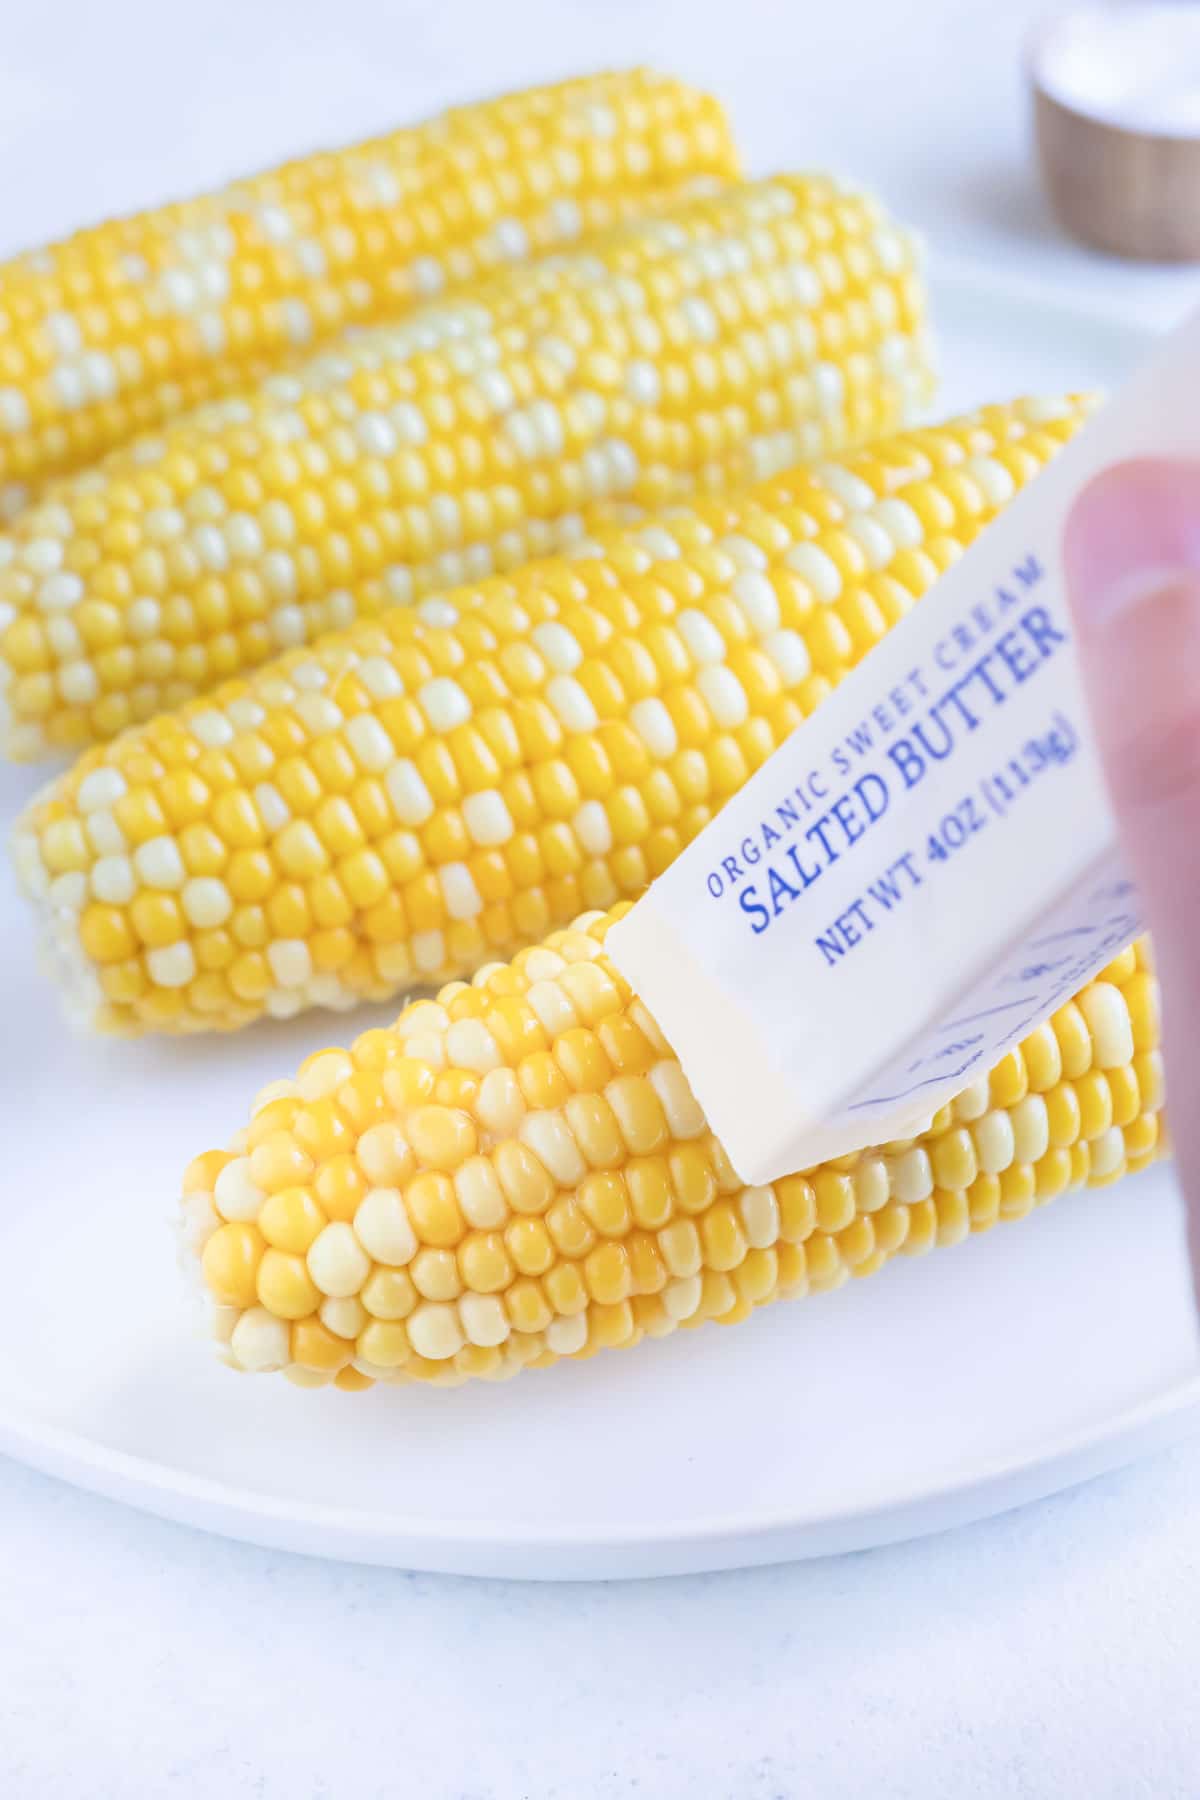
It’s so frustrating when you place a pat of butter on corn on the cob and it slides all over!
But, there’s a little trick to save the day.
Peel back about 1 inch of the paper from a stick of cold butter. (NOT softened, it will squish and make a mess!) Run the stick up and down the corn kernels to easily coat them with butter. So simple right?!
Once the corn is buttered, sprinkle with salt to taste.
And of course to finish it off, serve corn on the cob with those cute yellow plastic corn cob holders.
If you have some extra, learn how to freeze corn on the cob so you can enjoy it year-round!
How Long to Boil Corn on the Cob
Knowing how long to boil corn is key. Thankfully the range is pretty forgiving. But you definitely don’t want to overcook them or they end up getting mushy.
- Boil corn on the cob for 5-7 minutes. The trick to perfect timing is to make sure the water returns to a boil before you set your timer.
- Note the size of the cob. Smaller cobs will take less time to cook. While thicker cobs will take a little longer.
- Know how you’re going to eat it. Boil for a shorter time if you’re using the kernels in another dish that will be cooked. If you’re eating the corn immediately, cook for a longer time.
FAQs
Corn on the cob should be boiled for 7-8 minutes.
It’s best to add corn to the water once it is already boiling.
The healthiest way to cook corn on the cob is to boil it. Avoid coating in butter and use herbs or citrus juice to season it instead.
No, adding salt to water will result in tough corn kernels.
If you are going to an outdoor event, wrap cobs in foil then place corn in a cooler. Topping the pockets with a towel will keep in extra heat. Otherwise, place wrapped corn in a 200℉ oven until ready to serve.
Meal Prep and Storage
- To Prep Ahead: Boil the corn and store for up to 24 hours before serving. Corn loses its freshness over time, not to mention it won’t have as good of a texture. You can make a large batch the day before if cooking for a crowd.
- To Keep Warm: Wrap corn in foil and place it in a cooler with towels to keep warm.
- To Store: Seal in an airtight container for up to 3-4 days in the refrigerator.
- To Freeze: Corn can be frozen either on the cob or off as corn kernels. Remember it’s important to partially freeze first so they don’t stick together. Freeze the corn in an airtight container for up to 4-6 months.
- On the cob: Place on a baking sheet and partially freeze for 3-4 hours. Then wrap tightly in wax paper or plastic wrap and place in a zip-top bag.
- Corn kernels: Spread out on a baking sheet and partially freeze for 1-2 hours. Next, add the kernels to an airtight bag or a freezer-safe container.
- To Reheat: Warm the corn in the microwave for one minute. Or, wrap in aluminum foil and reheat in the oven at 300°F for 5-10 minutes.
Expert Tips and Tricks
- Shuck in one piece. Remove the husk and silks all in one go by pulling them off from the tip.
- Microwave it to shuck with ease. Heating up the corn softens the husks and makes it even easier to shuck it.
- Boil just long enough. Don’t overcook the corn or it will turn out tough instead of crisp and tender.
- Use a whole stick of butter. A pat of butter will slide all over the hot corn. Instead, remove the end of the wax paper from a stick of butter and slide it up and down the cobs to thoroughly coat them.
- Serve with corn cob holders. These help to limit the mess and make eating it really fun!
- Blanch before freezing. It’s best if you freeze cooked corn to preserve the taste and texture.
Recipes with Leftover Corn on the Cob
Now that you know how to boil the perfect corn, you need ways to enjoy it! These easy and tasty recipes are a great way to use fresh corn kernels:
- Cheesy Southern Corn Fritters
- Easy Mexican Street Corn Salad
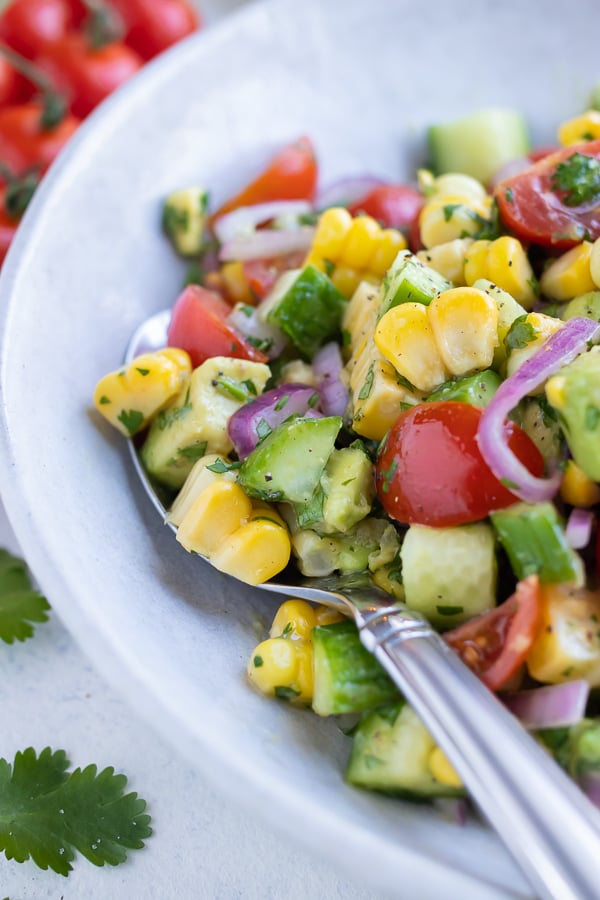
- Avocado Corn Salad
- Mexican Quinoa Salad with Avocado
- Black Bean & Corn Salsa
More Boiling Vegetable Resources
If you don’t want to stop at the cob, you can learn more about boiling beets, how long to boil potatoes, the best way to boil and blanch green beans, and a boiled carrots recipe!
Tap stars to rate!
How to Boil Corn on the Cob
email this recipe!
Ingredients
- 4-5 ears of corn on the cob
- water
- butter or oil, optional
- salt optional
Instructions
Shucking Corn:
- Cut and remove the stalk ends from the ears of corn.
- Peel back the husks to expose the corn, but do not completely remove them. Grab them from the untrimmed end and pull to remove all of the husks and silky strands in one go.
- Alternatively, you can microwave the ears of corn for 1-2 minutes. Grab the husks from the untrimmed end and pull away from the cob until the husks and silky strands are removed.
- Pick off any additional strands that remain.
Boiling Corn:
- Bring a large Dutch oven or pot of water to a boil.
- Add peeled corn cobs to the pot of water and let it return to a boil.
- Once boiling, reduce heat to medium and boil corn for 4-5 minutes if you're adding it to another recipe that will be cooked, or 7-8 minutes if you'll be eating it immediately. Flip the corn over halfway through cooking.
- Corn is ready when it can be easily pierced with a fork. Remove corn using tongs or a slotted spoon. Place on a paper towel or dish towel to let drain.
- Serve corn on the cob with butter and a sprinkle of salt. Enjoy!
Tap stars to rate!
Notes
Meal Prep and Storage
- To Prep Ahead: Boil the corn and store for up to 24 hours before serving. Corn loses its freshness over time, not to mention it won’t have as good of a texture. You can make a large batch the day before if cooking for a crowd.
- To Keep Warm: Wrap corn in foil and place it in a cooler with towels to keep warm.
- To Store: Seal in an airtight container for up to 3-4 days in the refrigerator.
- To Freeze: Corn can be frozen either on the cob or off as corn kernels. Remember it’s important to partially freeze first so they don’t stick together. Freeze the corn in an airtight container for up to 4-6 months.
- On the cob: Place on a baking sheet and partially freeze for 3-4 hours. Then wrap tightly in wax paper or plastic wrap and place in a zip-top bag.
- Corn kernels: Spread out on a baking sheet and partially freeze for 1-2 hours. Next, add the kernels to an airtight bag or a freezer-safe container.
- To Reheat: Warm the corn in the microwave for one minute. Or, wrap in aluminum foil and reheat in the oven at 300°F for 5-10 minutes.
Nutrition
Nutrition information is automatically calculated, so should only be used as an approximation.


My grandmother harvested thousands of ears of corn every year for over 50 years. Her recipe for fresh corn on the cob was the easiest and if something else you were cooking took longer.., no problem. She brought the water to a boil, added the cord, put the lid on and turned off the burner. She let it sit for a minimum of 20 minutes but it could sit for 30-40 minutes without loosing any flavor or crispness. Her corn was always the sweetest ! I think some of the flavor was due to the variety she grew but she said most was how she cooked it and that it came out of the garden the day she served it. Short season that way but wow the flavor. And the 3 rd week of June WW picked everything ready and froze it .., cut off the cob… now that was a process!
Yay! So happy to hear you enjoyed the recipe, Mazy! What a fun memory! Thanks so much for taking the time to leave a comment and rating!