Make your own Peanut Butter Cups just like the classic Reese’s candy with this super simple recipe! Peanut butter, ground graham crackers, powdered sugar, vanilla, and salt make up the filling, encased in a decadent melted milk, semi, or dark chocolate coating. Whether whipped up for a holiday or just for an easy sweet treat, this delicious DIY will quickly have you hooked.
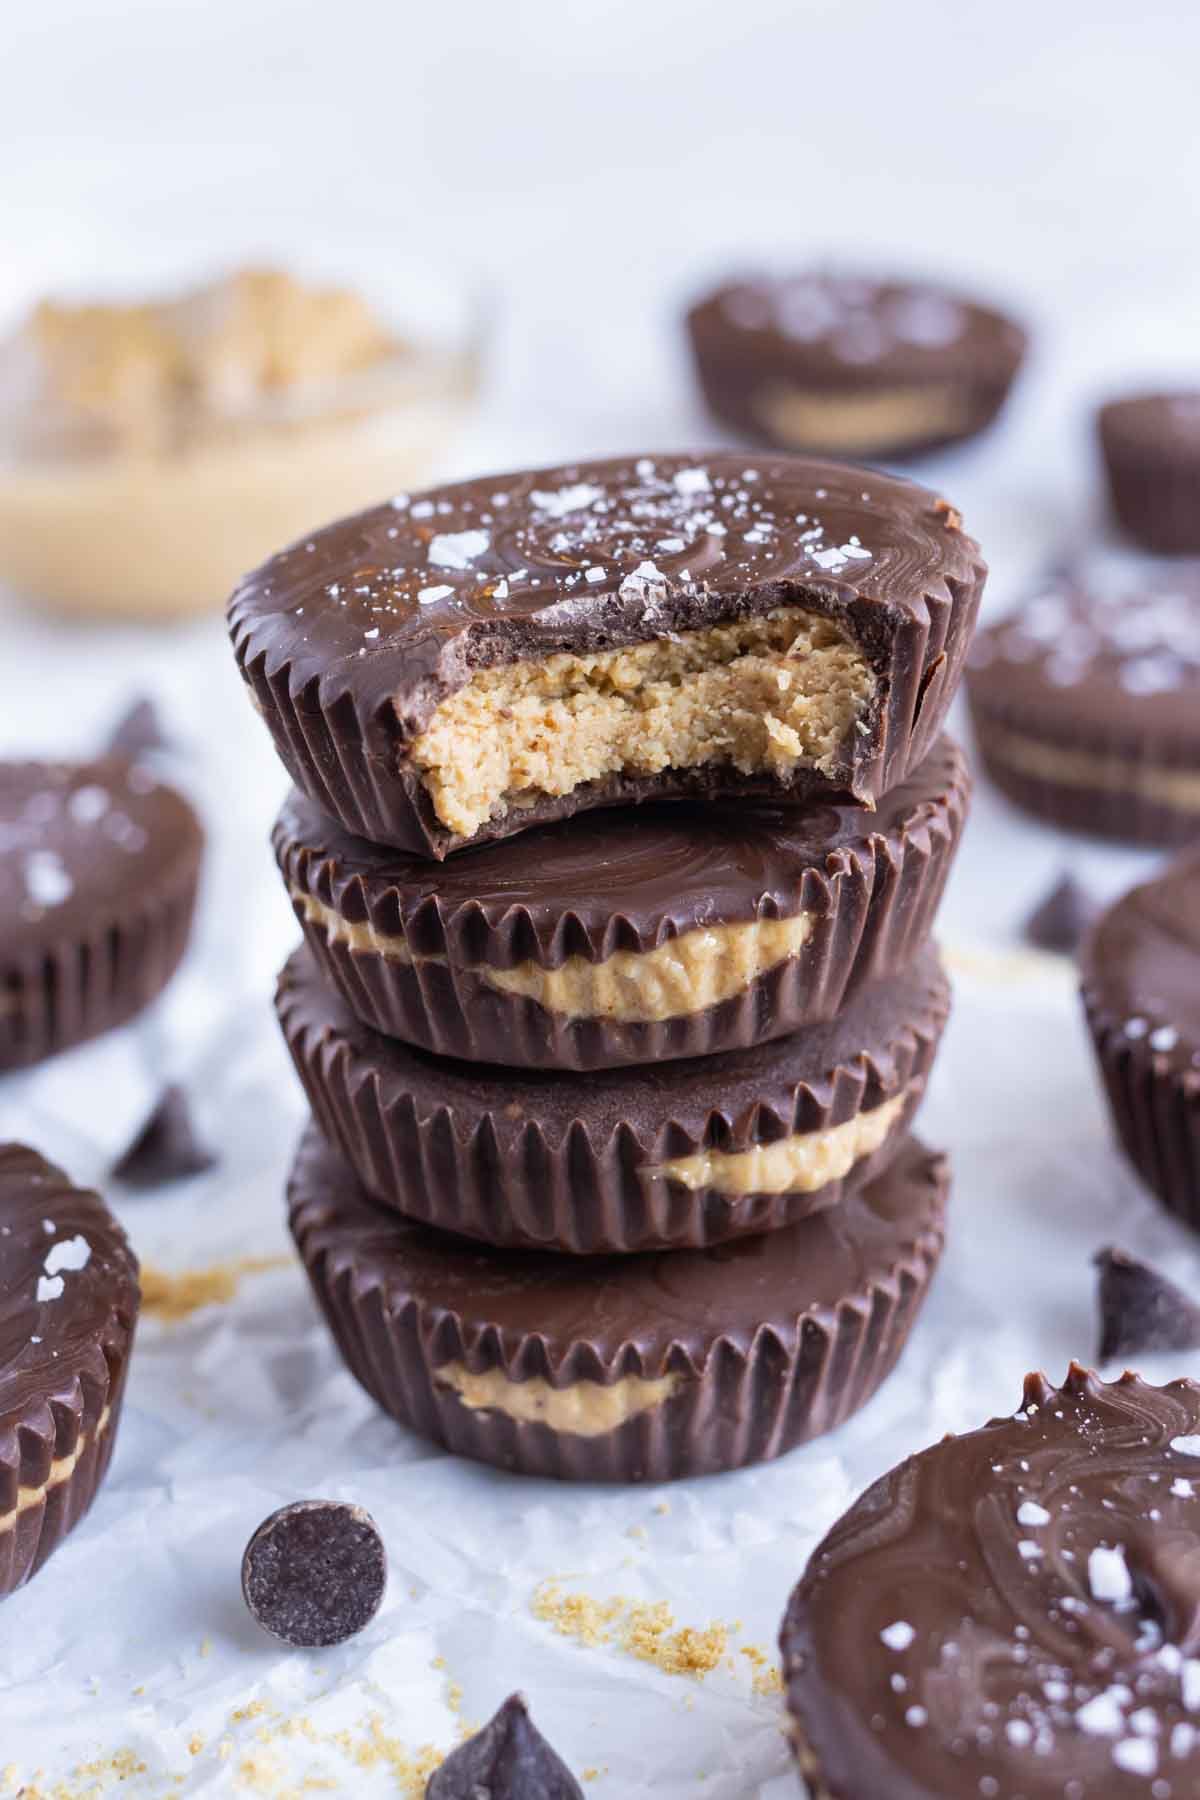
Table of Contents
The love for Reese’s peanut butter cups runs deep in my family. Ever since I was a kid, it was always THE candy I would reach for first on Halloween, Easter, or any other sugar-laden holiday.
With their rich milk chocolatey shell on the outside and soft peanut butter filling on the inside, they always made the perfect combo to satisfy my taste buds, no matter the occasion.
But as I became an adult, the high levels of sugar and other additives to the classic candy became more and more of a barrier for me being able to fully enjoy them.
That’s where this easy DIY recipe to make your very own Peanut Butter Cups at home comes in, giving you full control over your favorite treat!
Ingredients
For the exact measurements and detailed instructions, you can jump to the recipe.
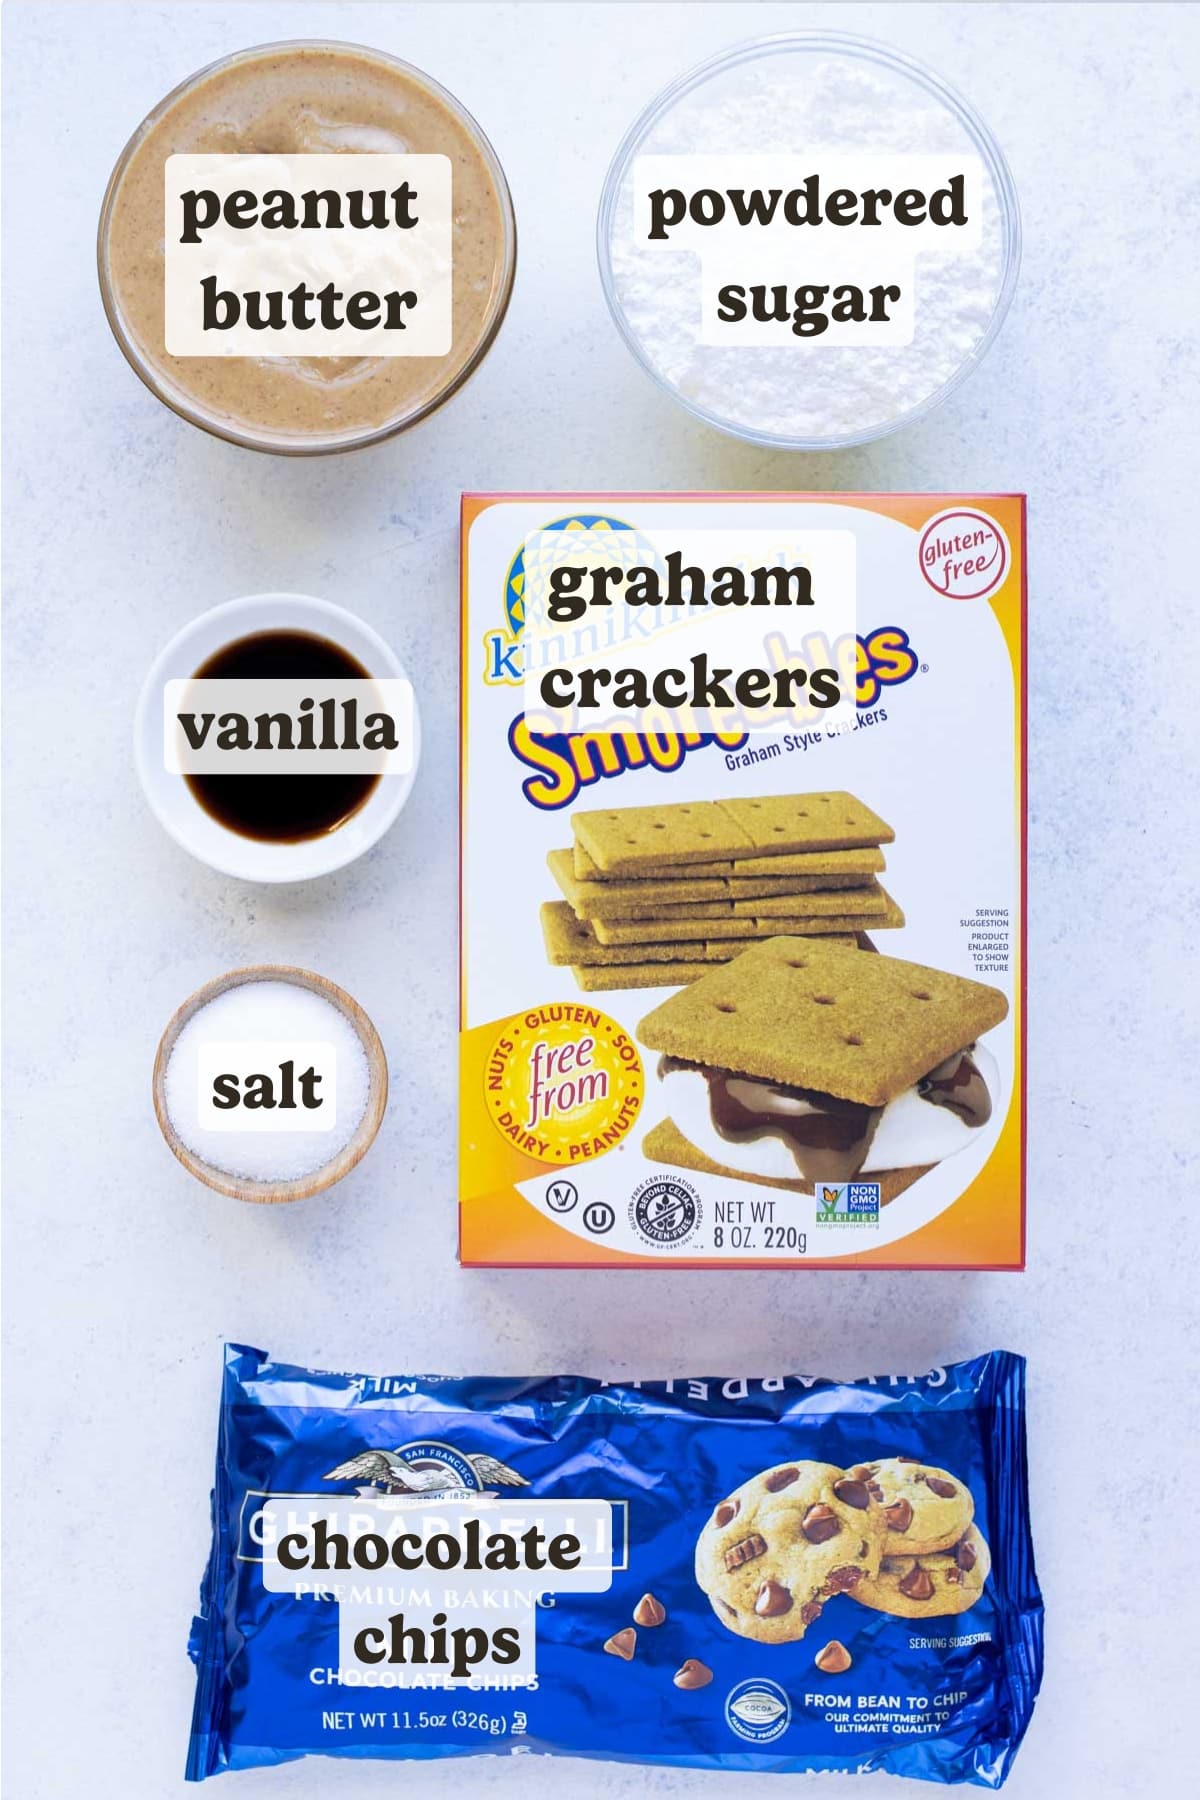
- Peanut butter. A regular, creamy variety such as Jif is recommended, but cashew or almond butter may be used as a substitute. Natural varieties of PB which require regularly mixing the oil back into the butter can also be used, but note the filling’s texture may turn out different because of it.
- Powdered sugar. This ingredient is a MUST-have to achieve both the right texture, and the level of desired sweetness. This can be substituted with other non-nutritive sweeteners, but ensure they are of a fine, confectioners-sugar texture rather than a more coarse texture.
- Graham crackers. A little goes a long way with ground up graham crackers, which help to give the filling its subtly grainy, trademark texture. A gluten-free variety may also be used to yield similar results.
- Vanilla extract. This helps to add a little extra depth of flavor to the filling. Just a fraction of a teaspoon should be used, however, otherwise it may prove overpowering.
- Chocolate. Milk, semi-sweet, or dark chocolate can all be used for this recipe, depending on your desired level of sweetness – this recipe used a mixture of milk chocolate and semi-sweet chocolate. Get a good-quality brand such as Ghirardelli or Guittard for especially good results.
How to Make Peanut Butter Cups
Jump to the recipe for the full instructions, ingredient amounts, and a printable recipe.
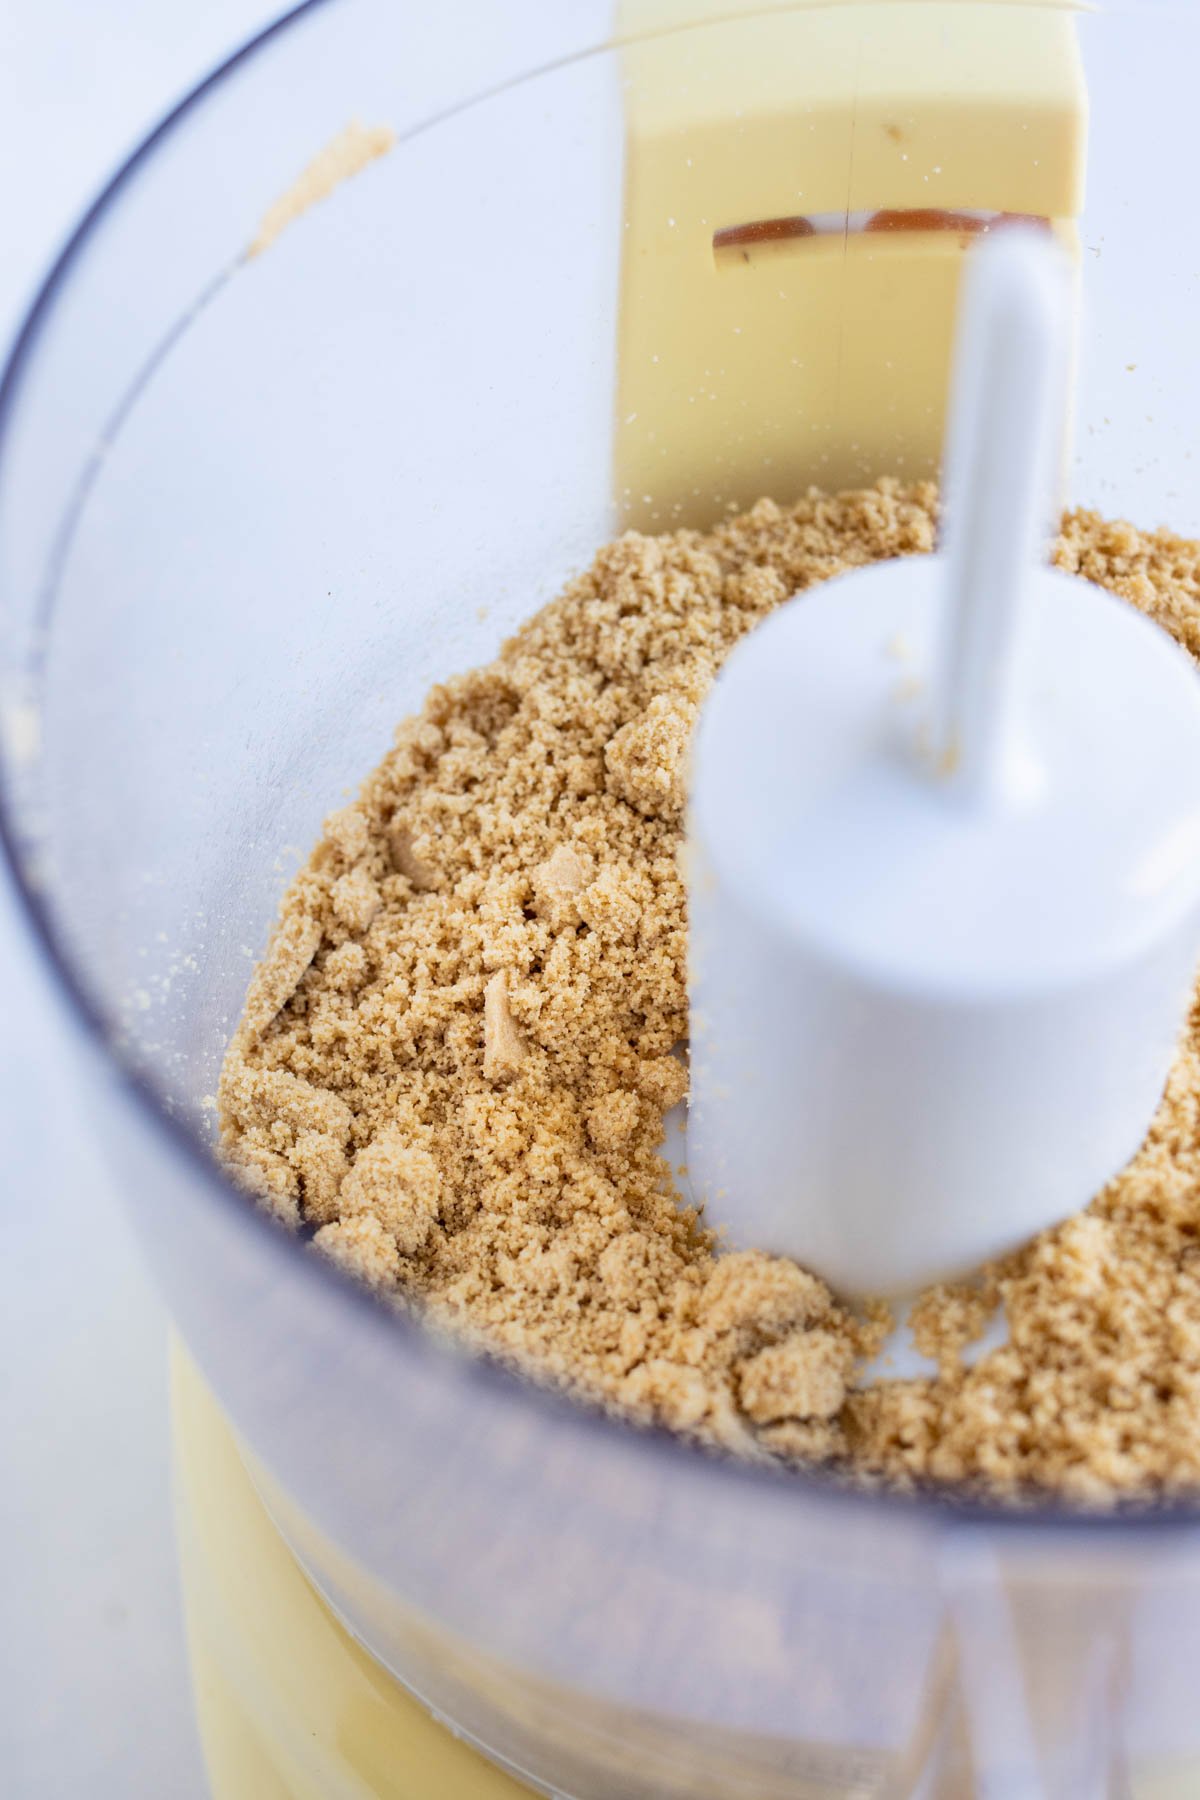
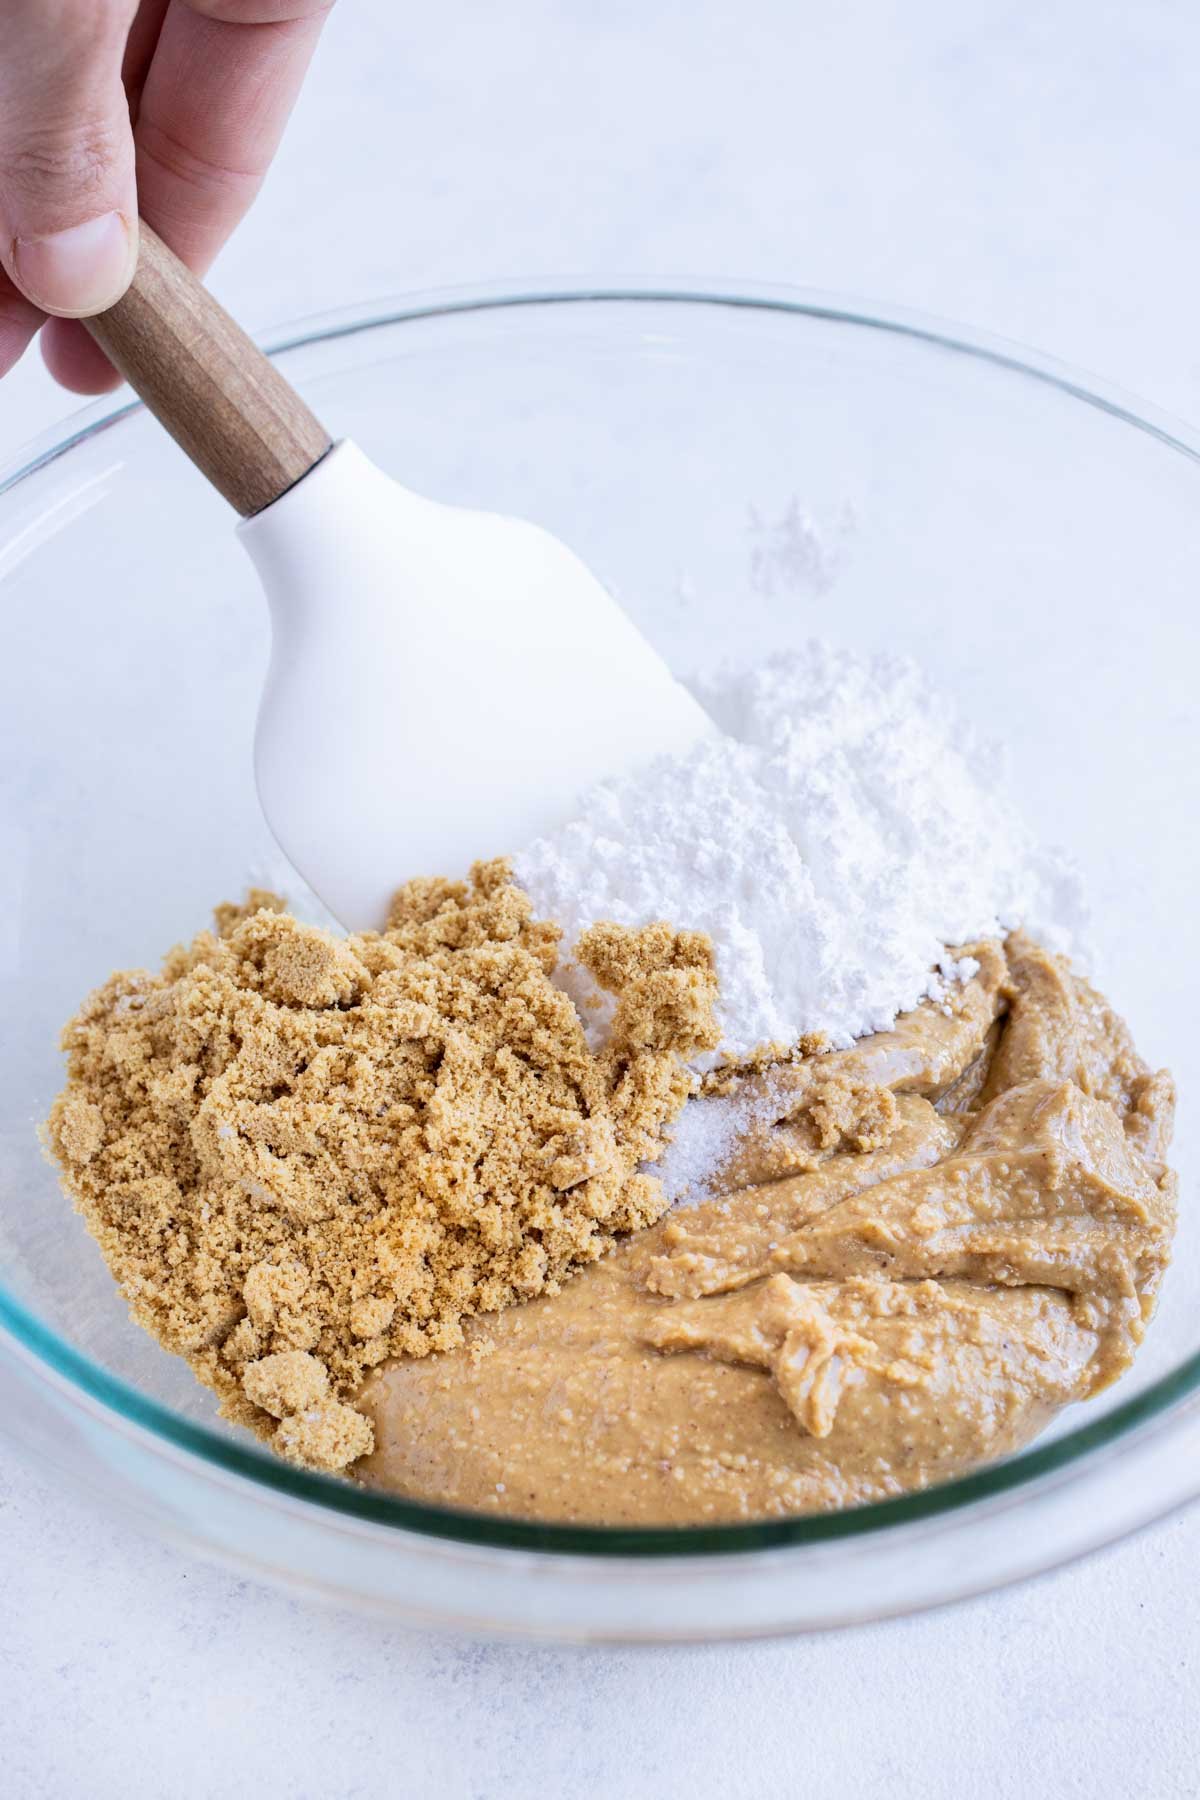
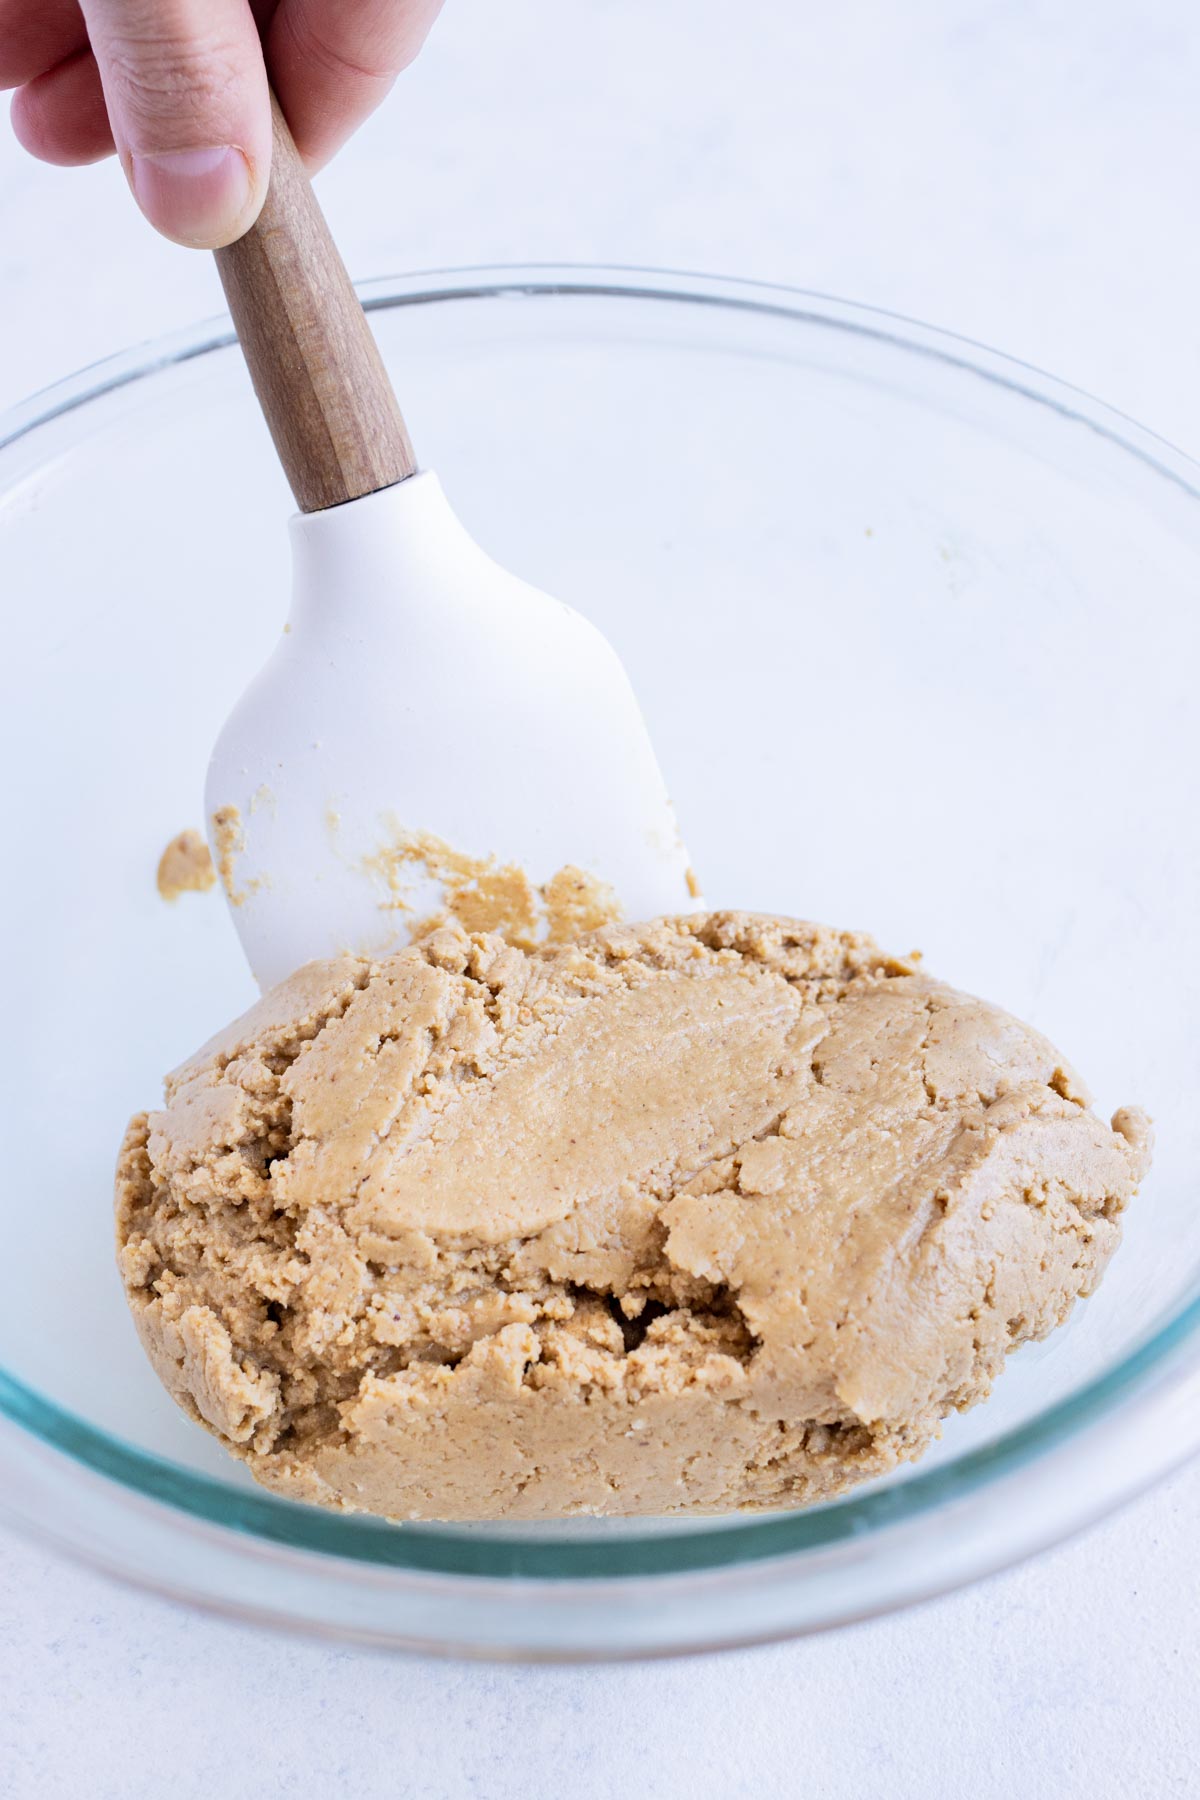
- Mix the filling. Using a food processor, process the graham crackers until they have the even texture of a very fine crumb. No chunks should remain that are larger than the rest. If concerned about getting the right texture, it can be sifted through a mesh strainer to ensure only the fine crumbs are used. In a large bowl, combine the graham cracker crumbs, peanut butter, powdered sugar, vanilla, and salt. Mix very well, until the ingredients have fully incorporated with one another.
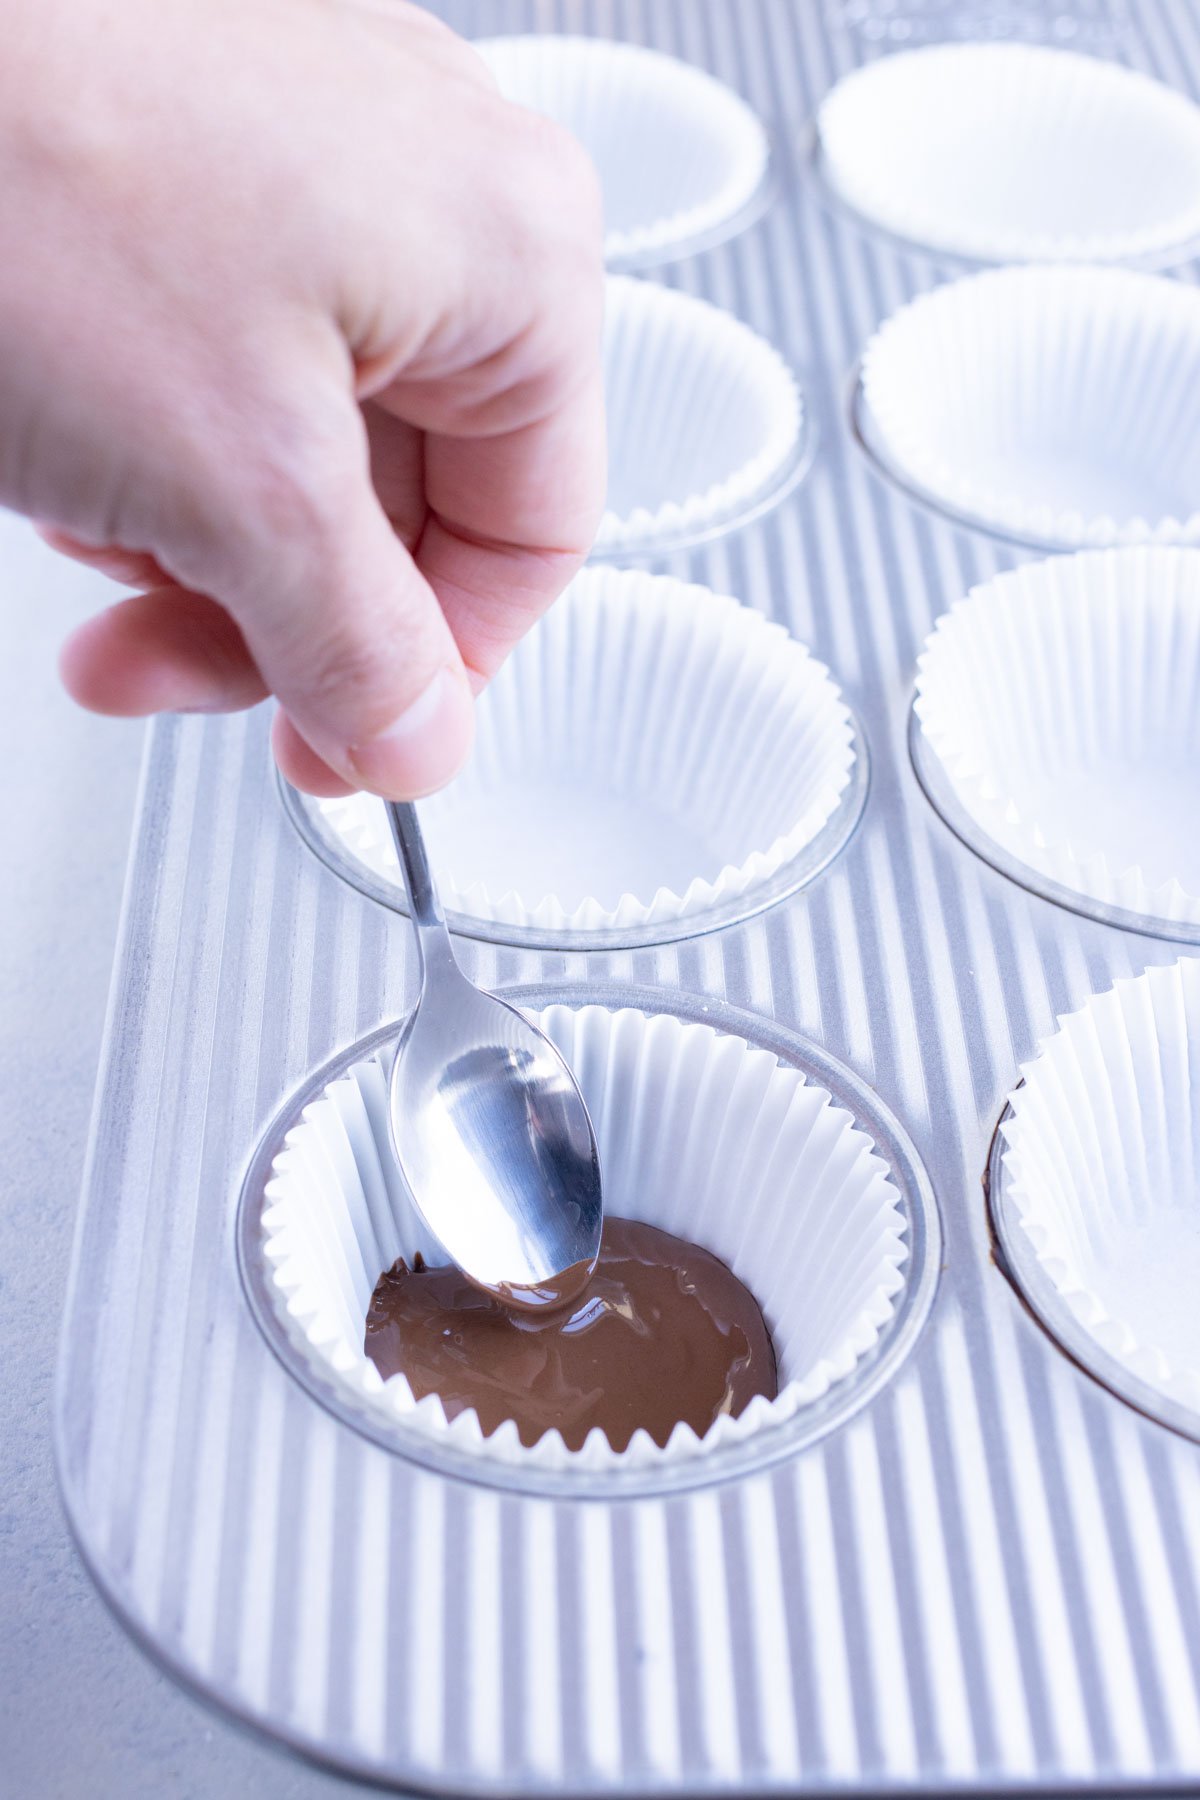
- Melt the chocolate. In a medium bowl, add the chocolate chips and melt them in the microwave for roughly 2 minutes stopping every 30 seconds, or until fully melted.
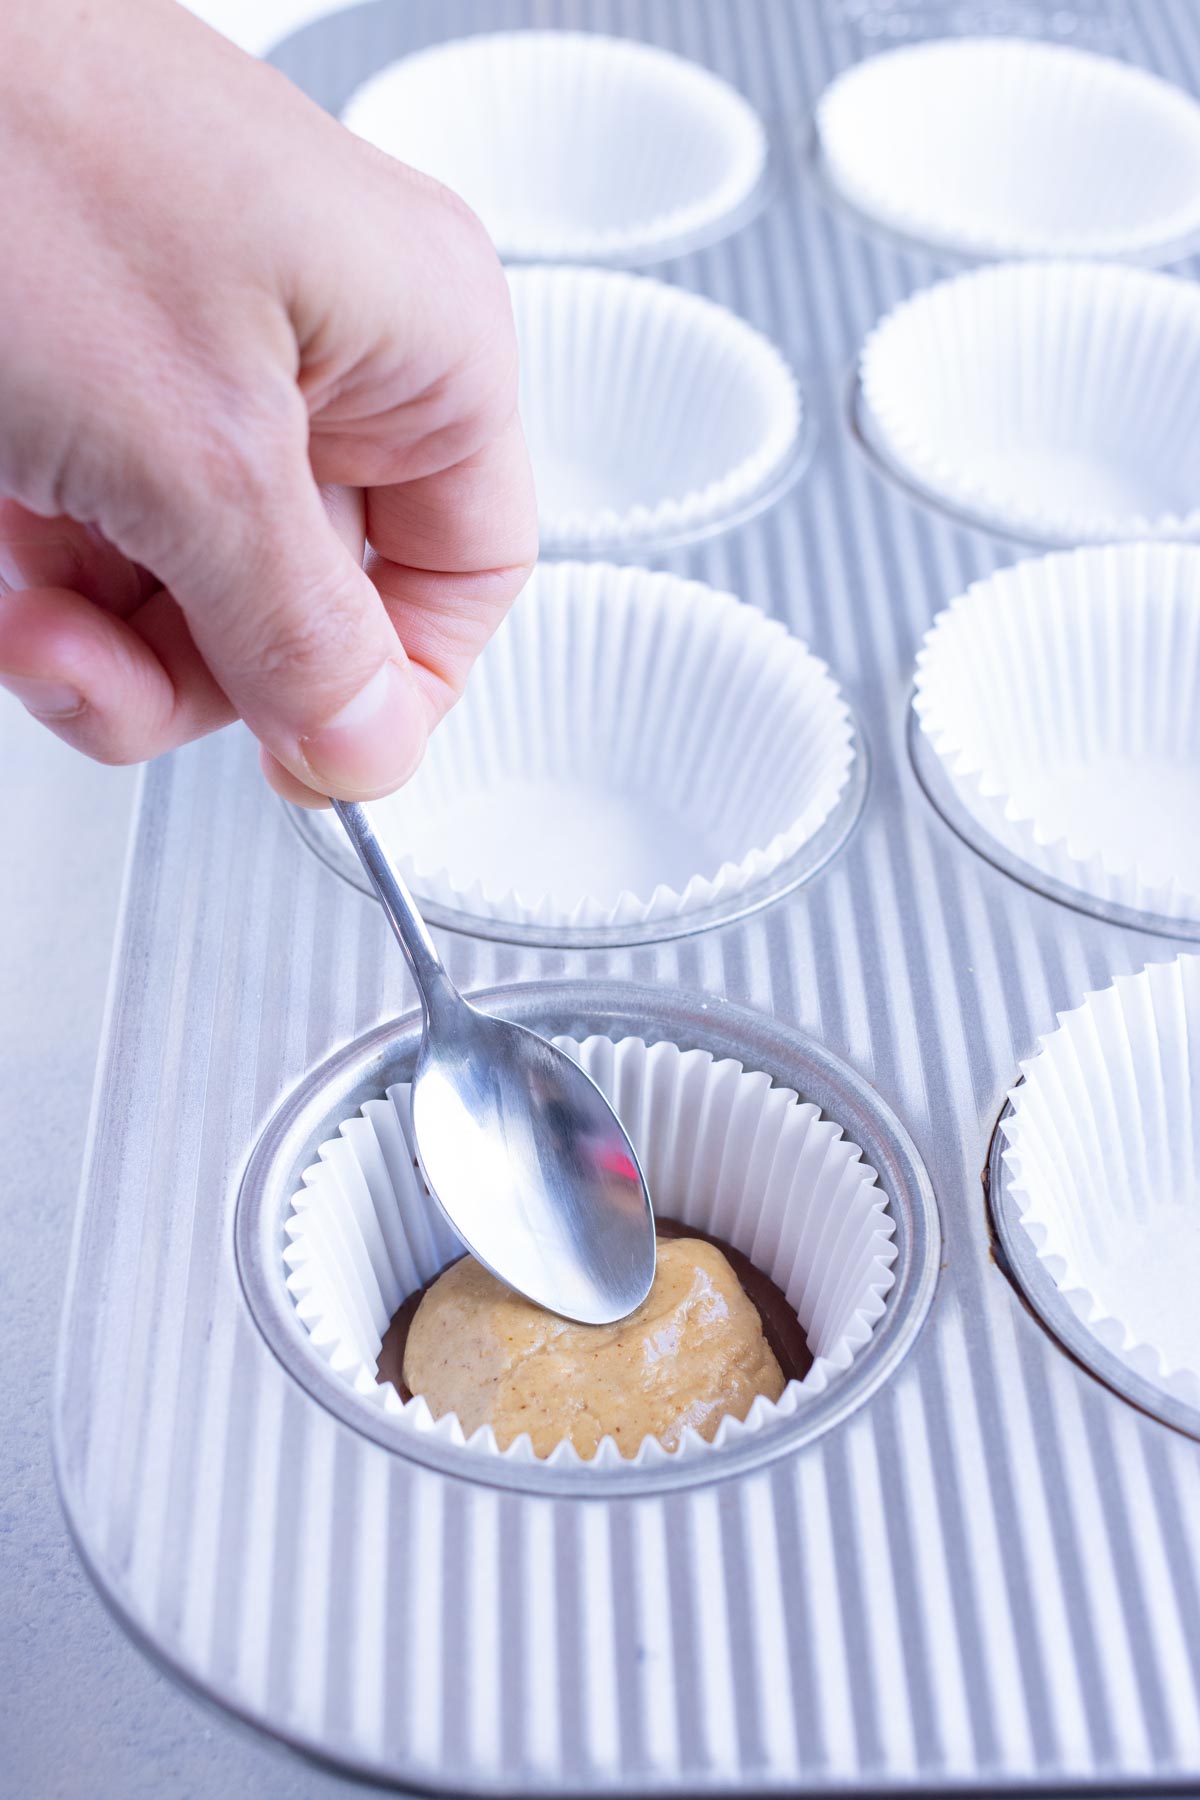
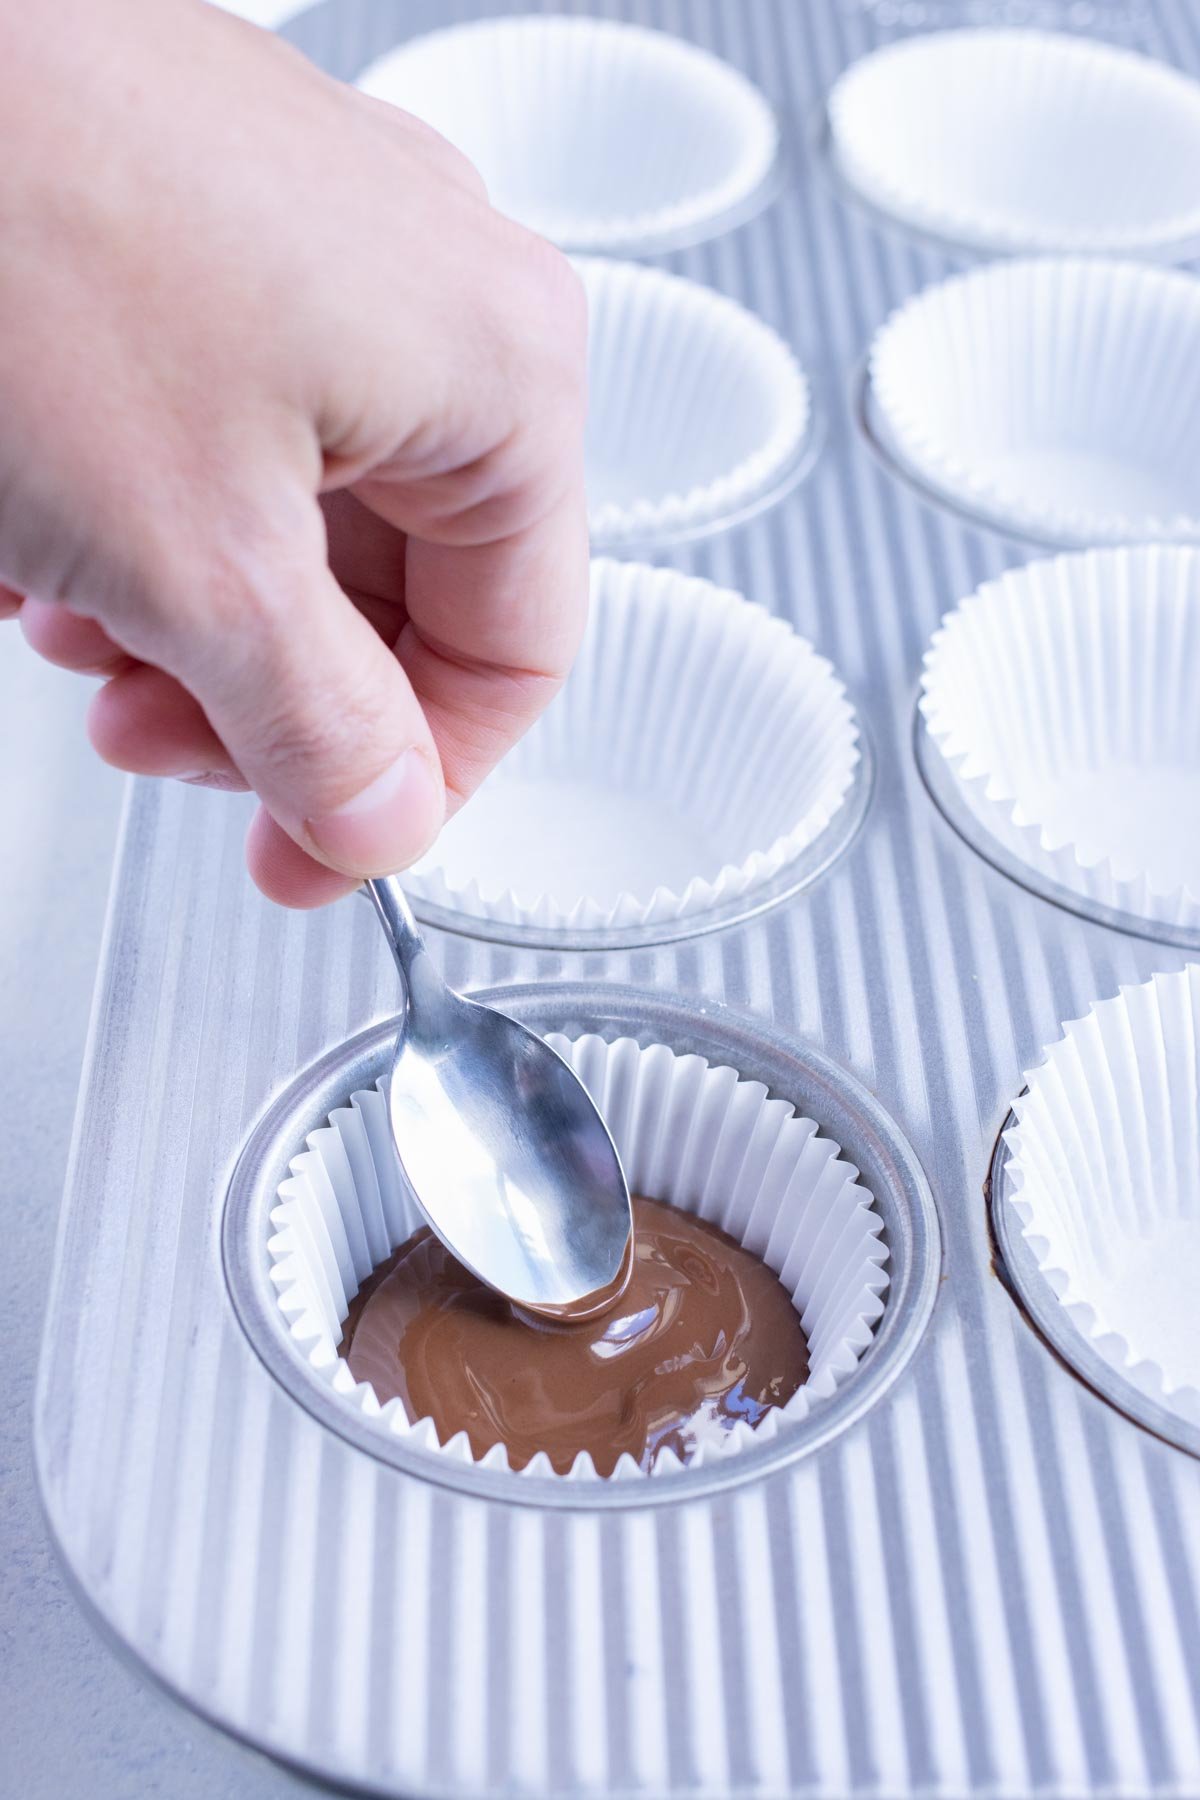
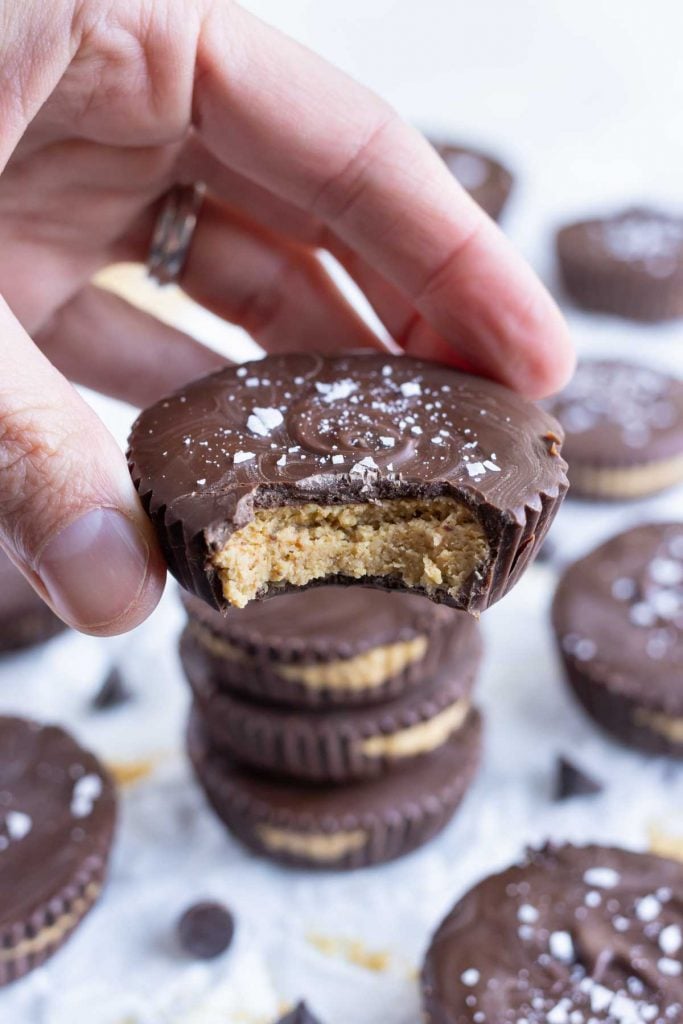
- Fill the cups. Line a 12-cup mini muffin tin with cupcake liners. Fill each liner with roughly ½ tablespoon of melted chocolate, and spread it around to fully cover the bottom of the liner. Place a tablespoon of the peanut butter mixture on top of the chocolate, spreading it around to form a rough circle and slightly pushing it down into the chocolate. Layer more melted chocolate on top of the PB, until it’s fully covered. Gently smooth out the top layer of chocolate, to ensure flat, even cups.
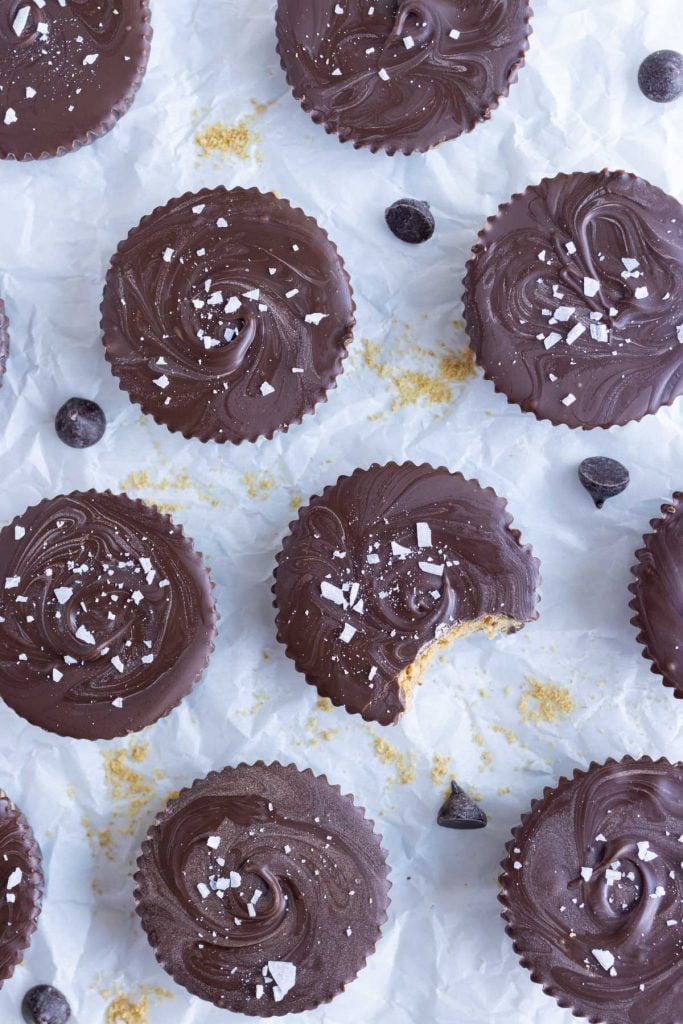
- Wait to harden. Carefully place the muffin pan into the refrigerator, and allow the cups to cool and set for 1-2 hours. The chocolate should be completely hardened throughout, so that they hold their shape and don’t fall apart when removed from the paper liners. Once they are completely set, remove from the fridge and enjoy!
Meal Prep and Storage
- Prep-Ahead: The peanut butter filling can be made up to 2 days in advance, and stored in an airtight container in the fridge. Lay a damp paper towel on the surface of the filling, to keep it from drying out.
- Storage: Homemade cups can be stored in an airtight container in the fridge or at room temperature for up to 2 weeks.
- Freezing: The cups can be frozen in a freezer-safe airtight container or Ziploc freezer bag for up to 6-9 months.
FAQs
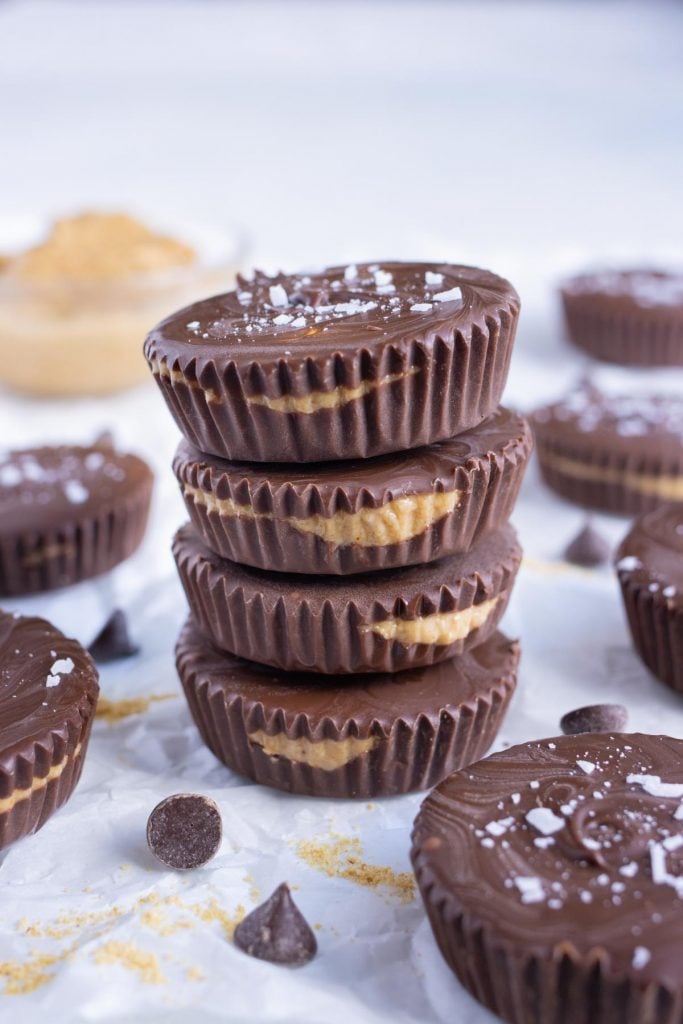
Standard store-bought Reese’s cups utilize a 50/50 ratio between chocolate and peanut butter, as does this recipe. However, the benefit to homemade cups is that you can opt for whatever ratio you like!
Store-bought peanut butters are generally made with only a mixture of peanuts, salt, sugar, and sometimes added oil for consistency. But the mixture utilized by this recipe and by brands like Reese’s cups use powdered sugar and graham cracker crumbs to achieve that classic, coarse texture inside.
More Dessert Recipes
Create even more homemade sweet delights with some of these other delicious recipes.
Love the flavor combo then you’ve got to try these Peanut Butter Eggs, Peanut Butter Chocolate Chip Cookies, No-Bake Oatmeal Cookies, and Peanut Butter Bars.
For the chocolate lovers you need to make this Easy Chocolate Mousse, Paleo Almond Joy, Chocolate Chia Seed Pudding. And for those that don’t, these Caramels are a must!
Tap stars to rate!
Homemade Reese’s Peanut Butter Cups

email this recipe!
Ingredients
- ⅔ cup peanut butter creamy
- ½ cup powdered sugar
- ¼ cup graham cracker crumbs
- ⅛ teaspoon vanilla
- 1 pinch of salt optional
- 1 12-oz. bag chocolate chips milk or semisweet
Instructions
- Process the graham crackers in a food processor until they are a fine crumb.¼ cup graham cracker crumbs
- Mix peanut butter, powdered sugar, graham crackers, vanilla, and salt in a large bowl until well combined.⅔ cup peanut butter, ½ cup powdered sugar, ¼ cup graham cracker crumbs, ⅛ teaspoon vanilla, 1 pinch of salt
- Add chocolate chips to a medium-sized bowl and melt in the microwave for 2 minutes, stirring every 30 seconds.1 12-oz. bag chocolate chips
- Line a 12-cup muffin tray with cupcake liners and fill each one with ½ tablespoon of melted chocolate. Spread the chocolate around to cover the bottom of the liner. Place a tablespoon of the peanut butter filling on top of the chocolate, spreading it around to form a circle and then slightly pushing it down into the chocolate. Top the peanut butter with another ½ tablespoon of melted chocolate. Smooth out the top and make sure it completely covers the peanut butter underneath.
- Refrigerate the cups for 1-2 hours, or until the chocolate is completely hardened. Enjoy!
Tap stars to rate!
Video
Notes
- Dairy-Free/Vegan: Look for a dairy-free, vegan chocolate made with coconut oil or another substitute, but be aware that it may melt and cool differently from traditional chocolate.
- Low-Carb: Opt for natural, sugar-free peanut butter, sugar-free chocolate, and a non-nutritive confectioner’s sugar replacement.
- Nut-Free: For peanut allergies, opt for a different variety of nut butter, such as almond or cashew butter. For all nut allergies, try using a brand of sunflower seed butter, or even cookie butter.
- Prep-Ahead: The peanut butter filling can be made up to 2 days in advance, and stored in an airtight container in the fridge. Lay a damp paper towel on the surface of the filling, to keep it from drying out.
- Storage: Homemade peanut butter cups can be stored in an airtight container in the fridge or at room temperature for up to 2 weeks.
- Freezing: The cups can be frozen in a freezer-safe airtight container or Ziploc freezer bag for up to 6-9 months.
Nutrition
Nutrition information is automatically calculated, so should only be used as an approximation.

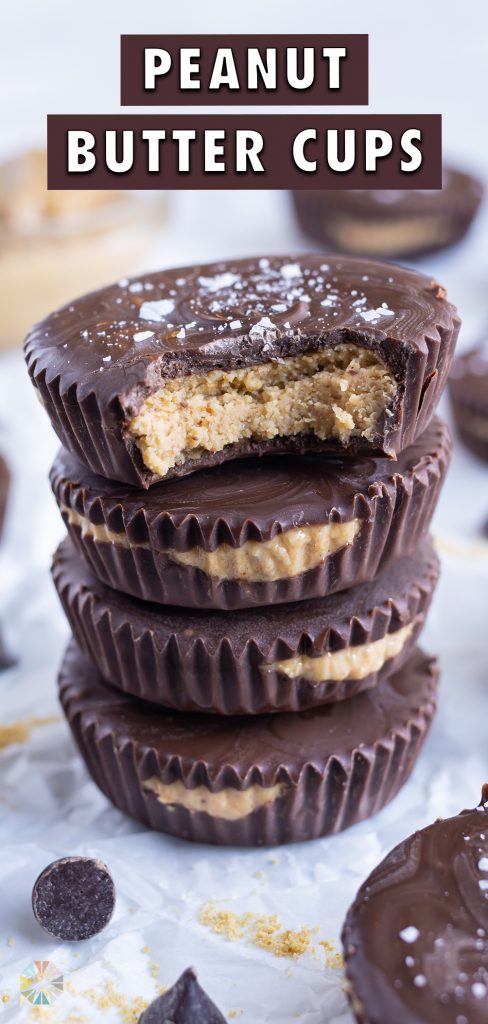





I love this recipe because the graham crackers make it taste like real Reese‘s peanut butter cup. It’s a keeper.
Yay! So happy to hear you enjoyed the recipe, Tesha! They do! Thanks so much for taking the time to leave a comment and rating!