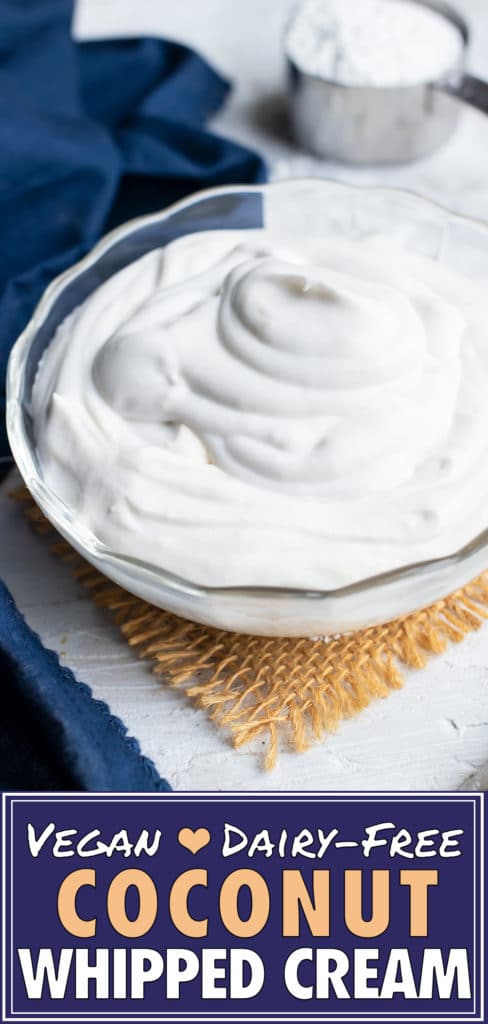
Making vegan and dairy-free Coconut Whipped Cream is so quick and easy to do! You only need a few ingredients to make this fluffy whipping cream that you can dollop on your favorite pie or dessert recipes.
Want a few recipes to serve with this coconut whipped cream? You might enjoy this Pumpkin Pie, Chocolate Pecan Pie Bars, Chocolate Crepes, and this Dutch Baby Pancake.
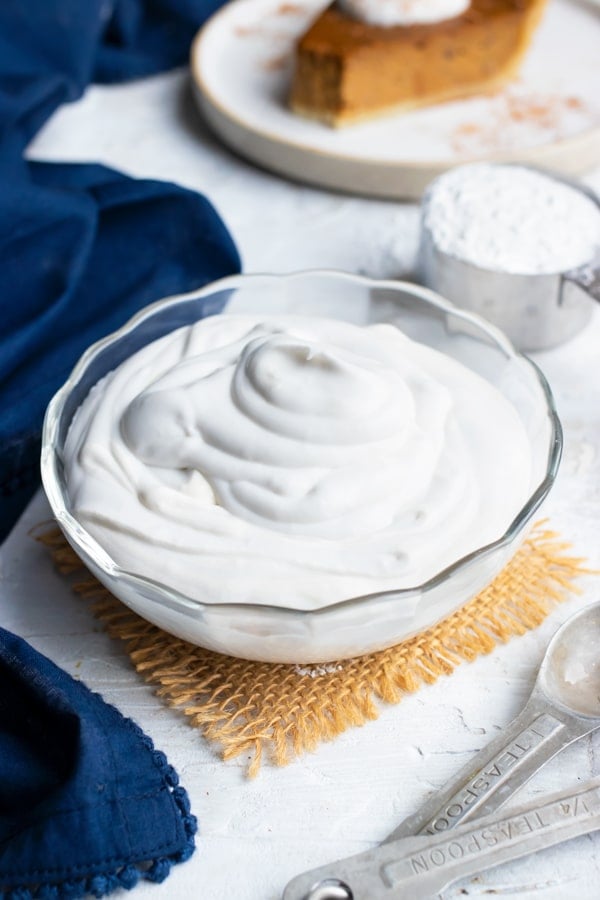
Coconut Whipped Cream on Everything!
Who else here absolutely LOVES coconut whipped cream?
You can dollop it on your favorite pumpkin pie…
Top your morning coffee with it…
Dip some fresh strawberries in a big bowl full…
Or just eat some by the spoonful!
^^ Totally do this ALL. THE. TIME! ^^
Dairy-Free and Vegan Topping
Not only does this coconut whipped cream taste SO much better than the store bought kind, but it’s also MUCH healthier for you!
It’s naturally gluten-free, dairy-free, and vegan.
You can even adapt the recipe to your preference and make it Paleo and low-carb, too.
So if you’re ready to rock ‘n roll, let’s start learning how to make this fluffy whipped topping!
Ingredients
You only really need ONE ingredient when making this recipe. However, there are a few additions that will really take this fluffy cream over-the-top.
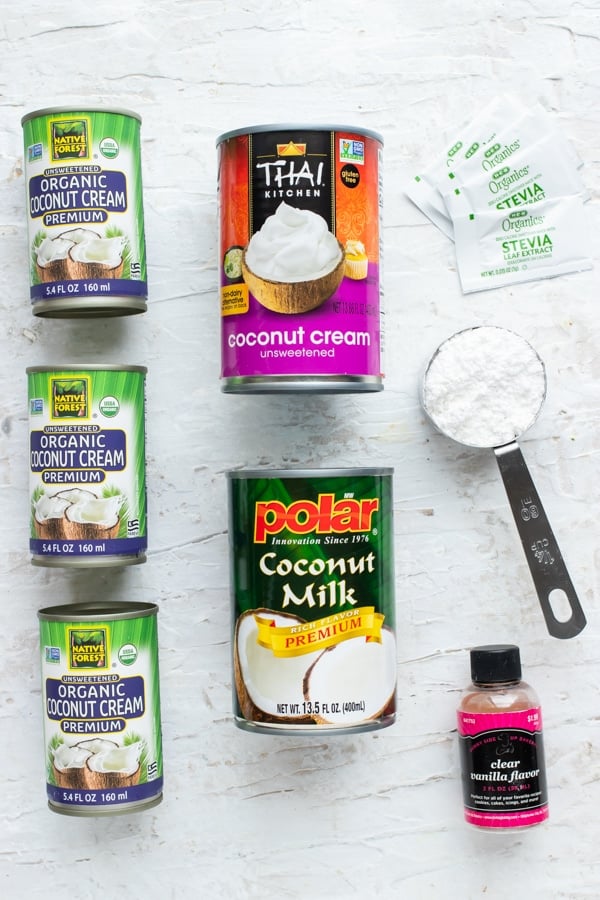
- Coconut Cream – This is the ONE ingredient you absolutely need. You can buy coconut CREAM, not MILK, at most grocery stores. (Read more in the FAQs if you have a difficult time locating it.)
- Powdered Sugar – This is totally optional and helps to sweeten the cream slightly.
- Vanilla Extract – A CLEAR vanilla extract is recommended so you do not discolor your finished product.
Best Brands To Use
There are numerous brands of coconut cream that you can use with great success in this recipe.
A few of my favorite brands include:
- Native Forest (pictured above)
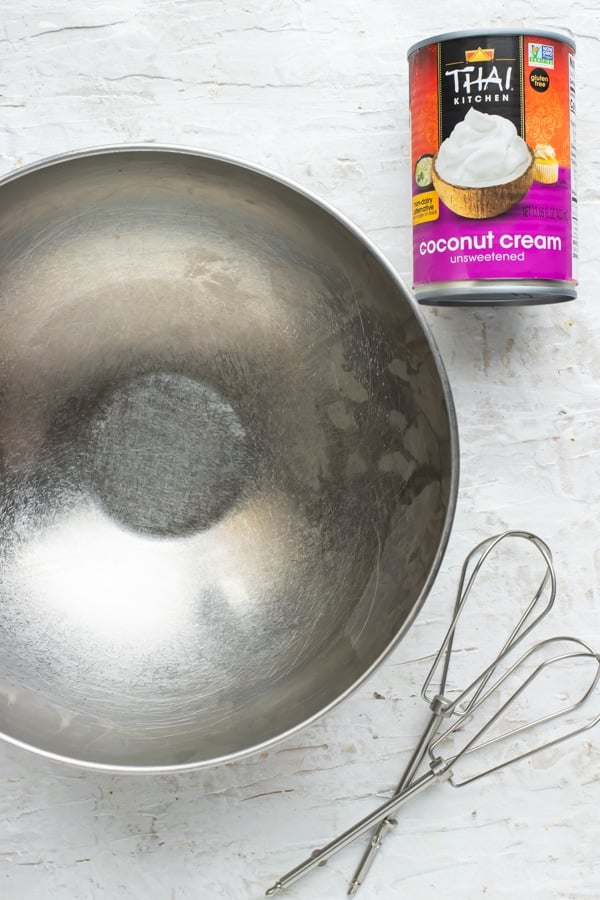
- Thai Kitchen (pictured above and below)
- Polar (not pictured)
- Trader Joes
Chill It
Before making this fluffy cream it is critical that you chill the can of coconut cream, the bowl, and the whisking attachment.
Coconut Cream: Shake the can to make sure the cream is fully mixed. Refrigerate for at least 4 hours or up to overnight before whipping.
If you try to use room temperature cream you will have a very difficult time getting it to thicken up.
Whisk and Bowl: These can be chilled the day of making the whipped cream. You can either refrigerate them for an hour or freeze for 20-30 minutes.
How to Make
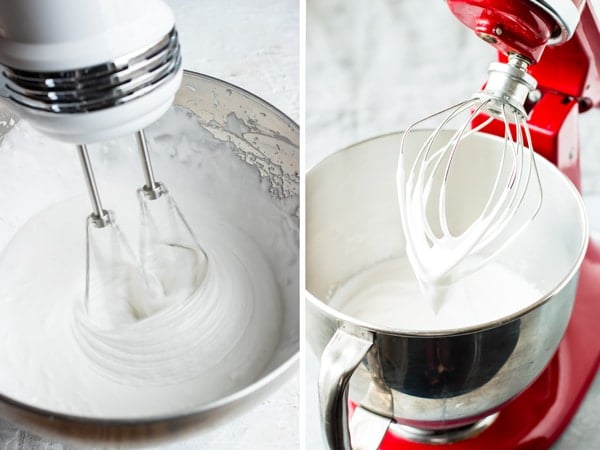
There are two ways you can make coconut whipped cream: in a stand mixer or in a mixing bowl with a hand mixer.
Both ways work, but the stand mixer requires less labor on your part.
Whichever way you choose, here are the step by step instructions:
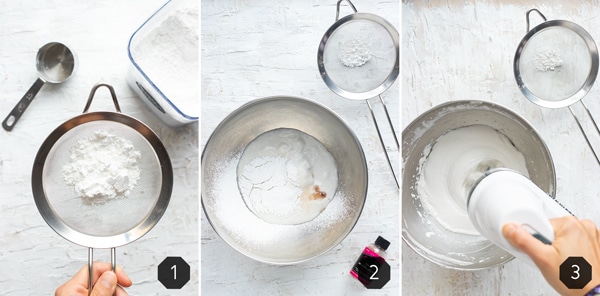
- Add chilled coconut cream to a chilled bowl of a stand mixer.
- Whisk on medium speed for 2 minutes.
- Add powdered sugar, to taste, and vanilla extract.
- Continue whisking on medium speed for 1-2 minutes, or until peaks form.
Can I use coconut milk to make this?
While coconut cream is recommended, you can also use full-fat coconut milk to make this whipped topping.
- Refrigerate the can of coconut milk for at least 4 hours or up to overnight.
- Make sure you DO NOT shake the can before chilling.
- Remove the thick, top layer ONLY. (This is the coconut cream.)
- Discard any of the additional liquid in the bottom of the can.
- Use a reduced amount of sugar and vanilla extract and follow the recipe below.
You will only get ~1/3 the amount of whipped cream from a 15-ounce can versus using a can of coconut cream.
FAQs –
How can I make it thick and fluffy?
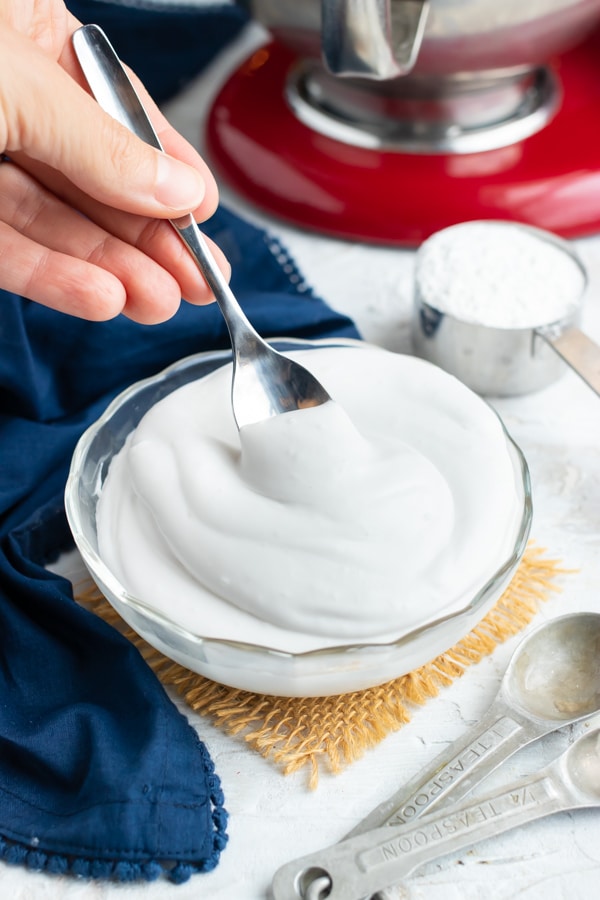
To thicken homemade coconut whipped cream refrigerate it for 4 hours or up to overnight. The longer it chills, the thicker it gets.
While coconut whipped cream is a great substitute for regular whipped cream, the texture is not exactly the same and will be a bit runnier.
What if I don’t have 4 hours to chill the cream?
If you are pressed for time, shake up the can of coconut cream and put the cream, bowl, and attachment in the freezer for 1-2 hours before making.
Can I make this recipe keto?
To make this recipe low-carb and keto, use 2-4 packets of stevia powder in place of the powdered sugar.
How long will it last?
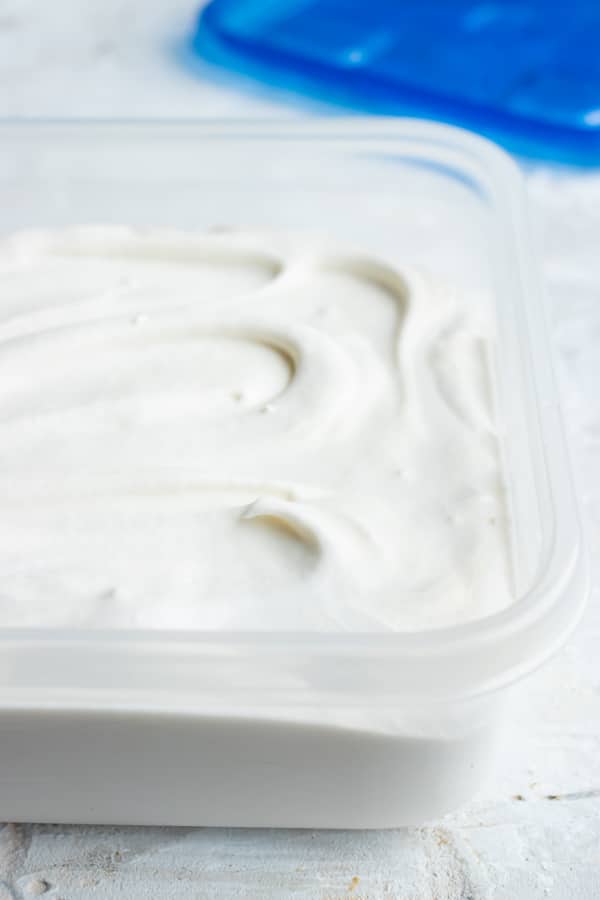
Coconut whipped cream will last if stored in an airtight container in the refrigerator for up to 2 weeks.
Dessert Recipes to Serve With
Paleo & Vegan Pumpkin Pie
Tap stars to rate!
How to Make Coconut Whipped Cream | Dairy Free, Vegan
email this recipe!
Ingredients
- 1 15-oz. can coconut cream*
- 2-4 Tbsp. powdered sugar or stevia packets
- 1 tsp. clear vanilla extract
Instructions
- Chill the can of coconut cream in the refrigerator for at least 4 hours or up to overnight. Chill the mixing bowl and whisking attachment in the refrigerator for at least an hour.
- When you are ready to make your coconut whipped cream, place coconut cream in the chilled bowl of a stand mixer or in a bowl with a handheld mixer. Attach the whisk attachment (or beaters) and whisk on medium speed for 2 minutes.
- Coconut cream will begin to thicken. Add powdered sugar to taste and vanilla extract.
- Continue whisking on medium speed for 1-2 minutes, or until coconut cream is to your desired consistency.
- If the whipping cream is not as thick as you would like, refrigerate it for a few hours to help thicken it up.
- Serve coconut whipped cream with your favorite pumpkin pie or store in an airtight container in the refrigerator for up to 2 weeks.
Tap stars to rate!
Notes
- If you would like to use canned coconut milk: do not shake the contents of the can and refrigerate for at least 4 hours or overnight. When ready to make coconut whipped cream, scoop the thick layer of cream from the top of the can and proceed with the remaining instructions. (Note: you will probably need about half of the powdered sugar and vanilla extract.)
- If you are pressed for time, shake up the can of coconut cream and put the cream, bowl, and attachment in the freezer for 1-2 hours before making.
- To make this recipe low-carb and keto, use 2-4 packets of stevia powder in place of the powdered sugar.
Nutrition
Nutrition information is automatically calculated, so should only be used as an approximation.

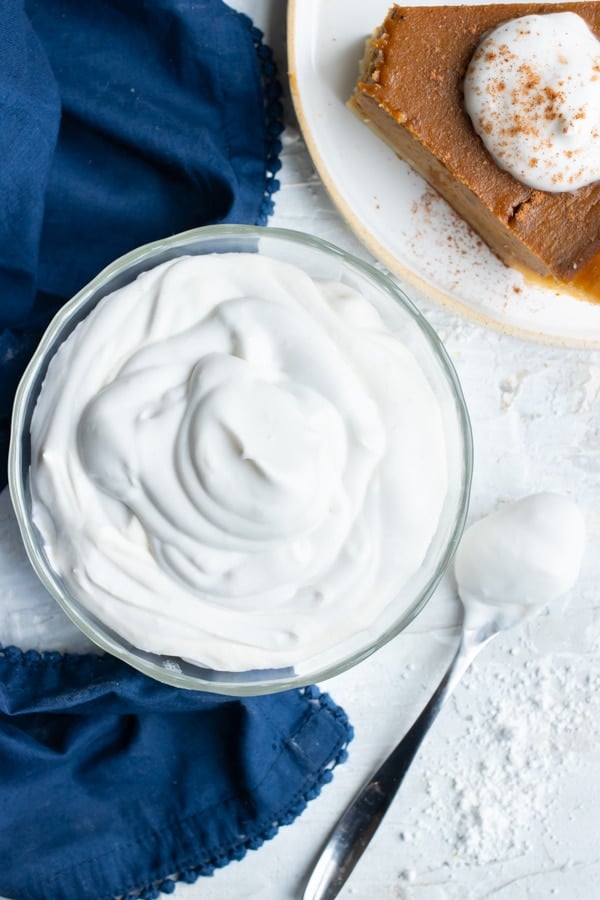






Tastes and looks so much better than regular whip cream. Thanks for the recipe!
You’re so welcome, Patricia!