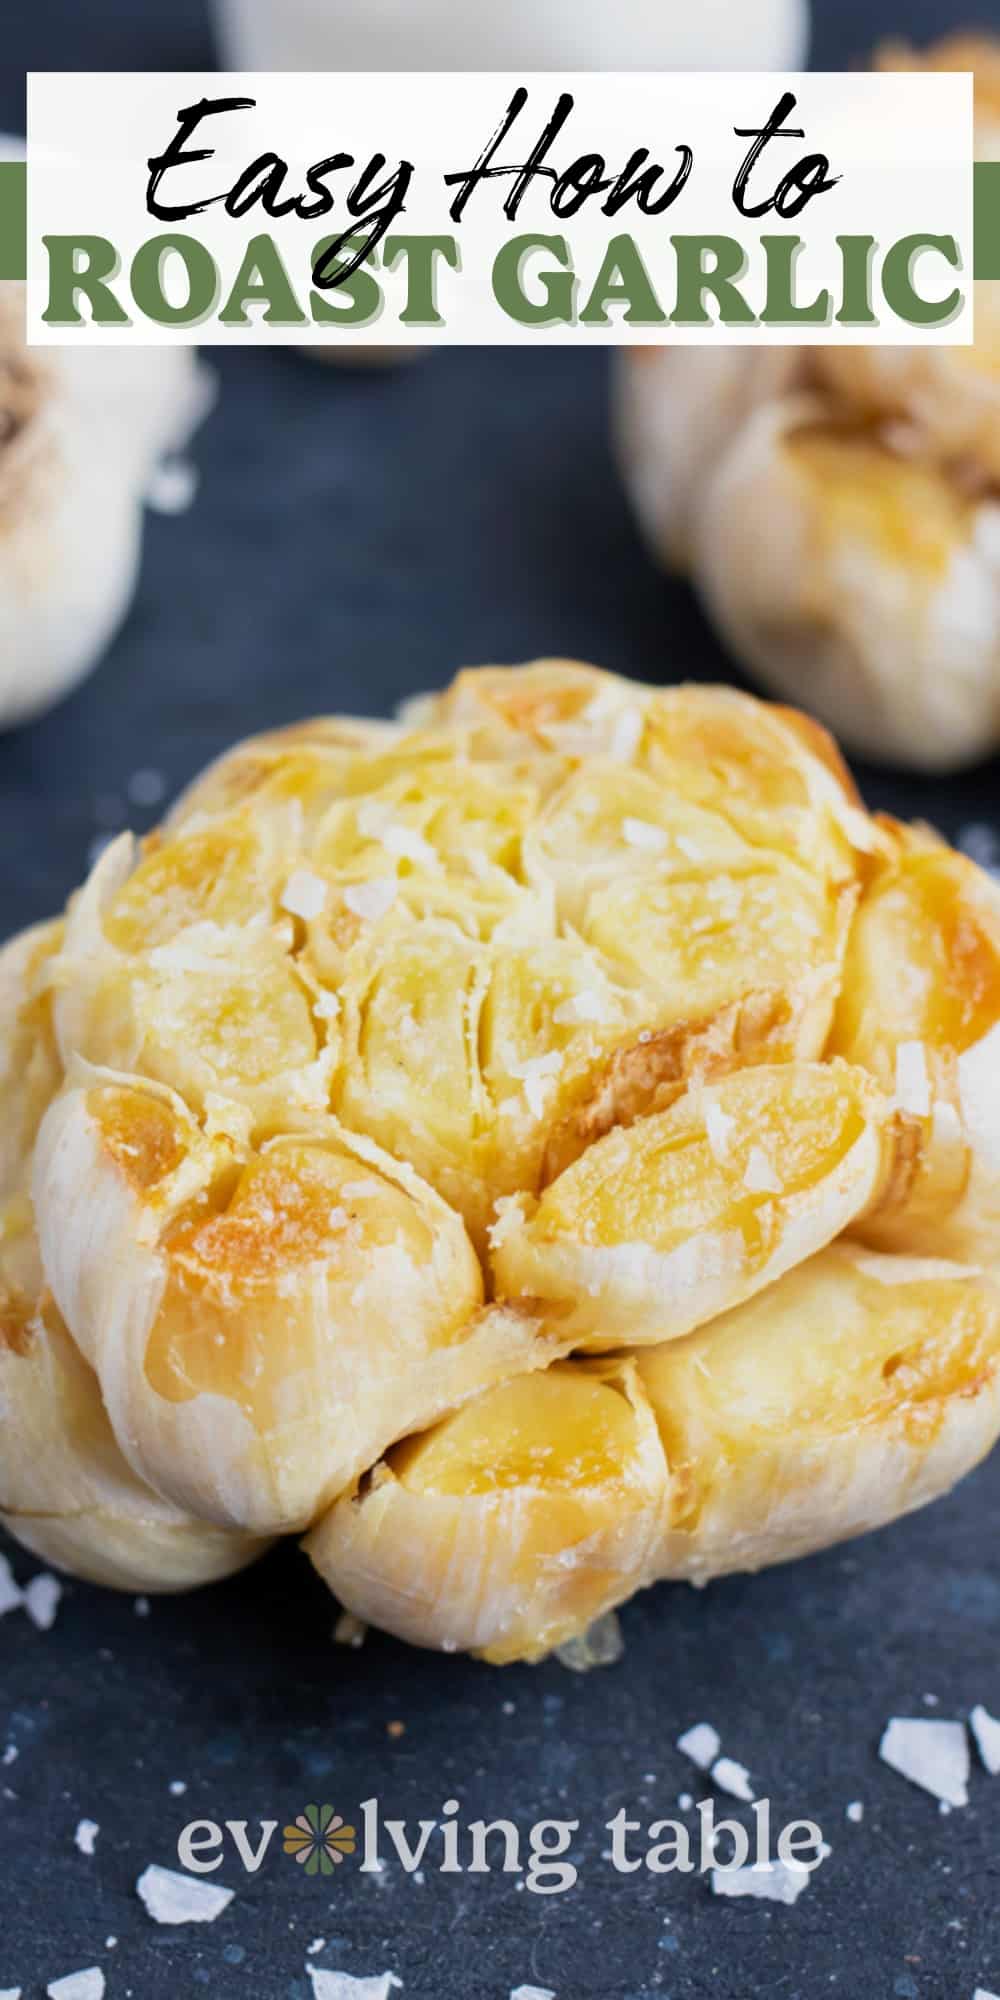
This is the best and easiest method to master the technique of Roasting Garlic in the Oven! Heads of garlic are wrapped in foil and baked in the oven to tender, sweet perfection. Get the straightforward steps for achieving amazing nutty flavor with these caramelized cloves, whether you’re using them in recipes or simply spreading them on baguettes.
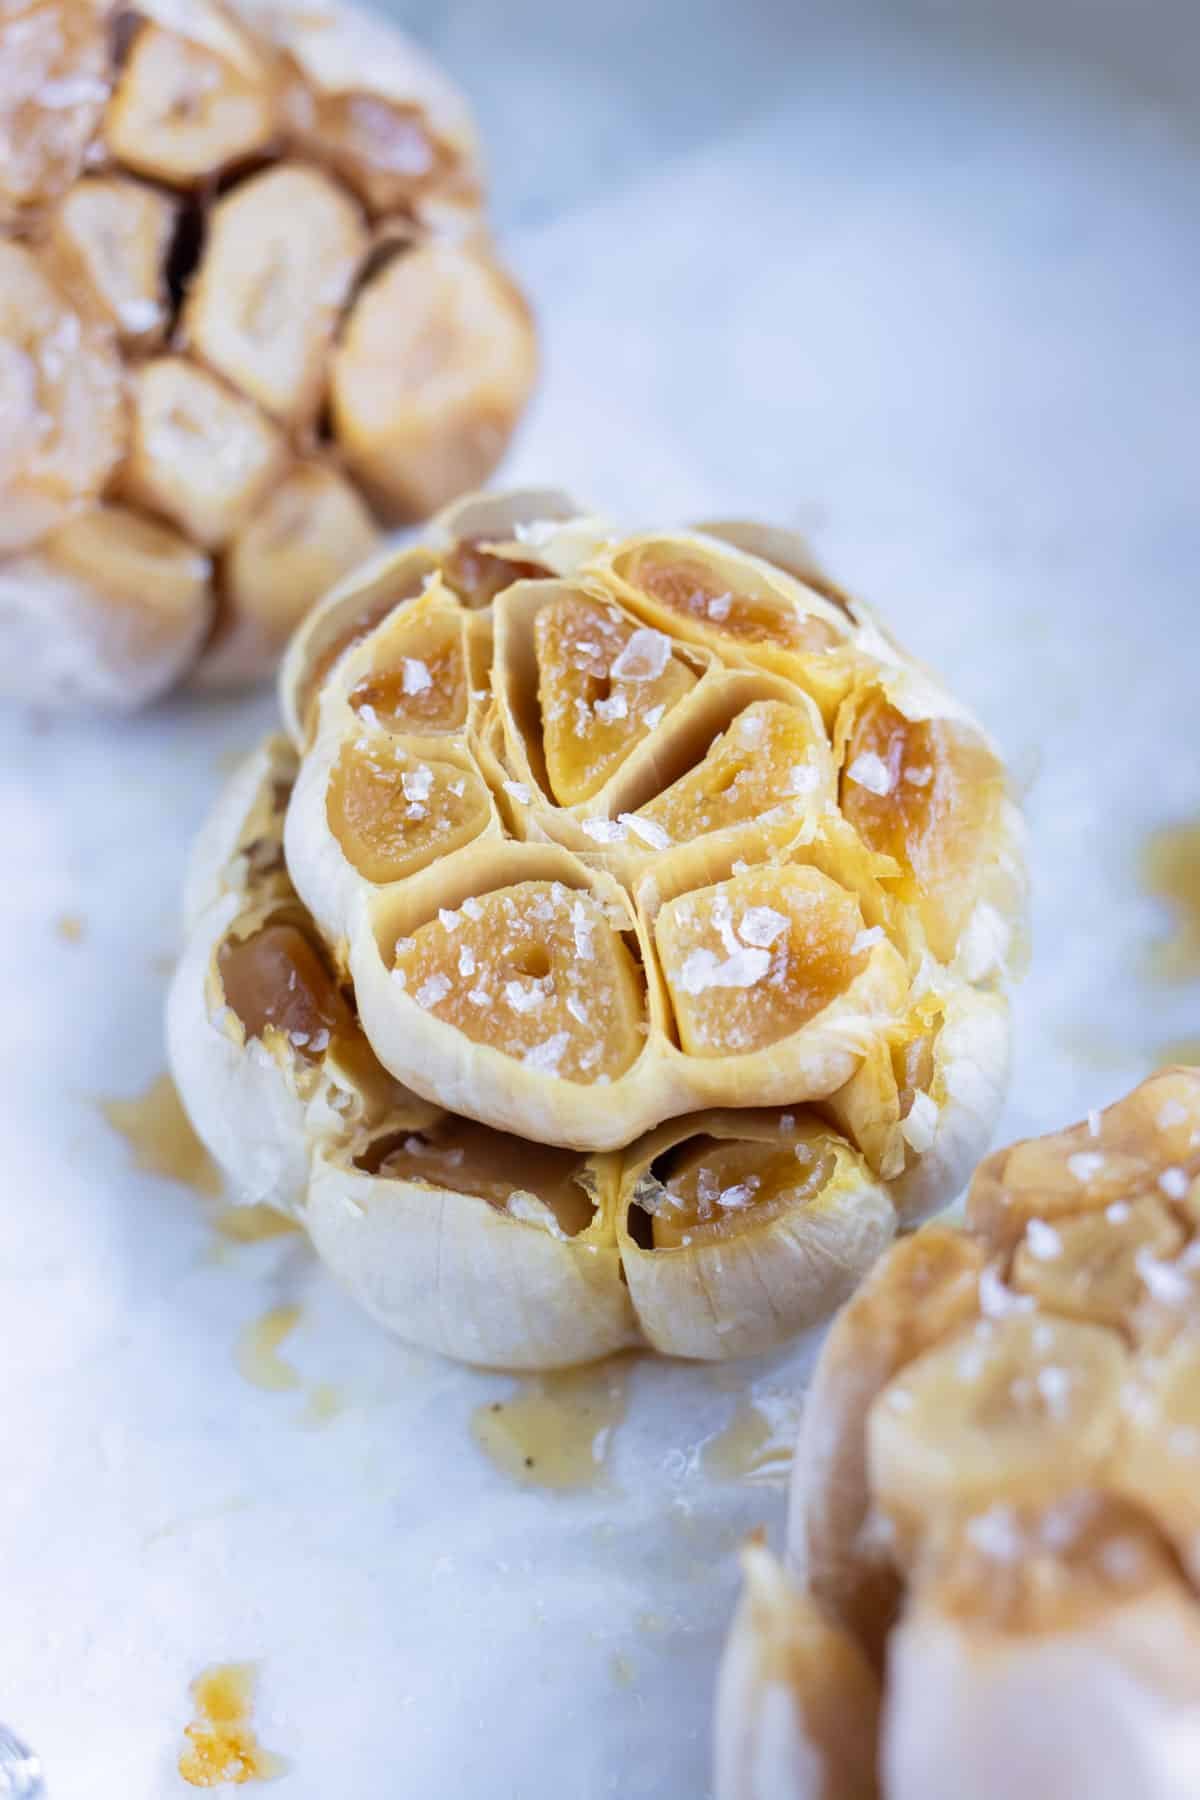
Table of Contents
Roasting garlic in the oven is one of those simple cooking techniques that can initially seem intimidating.
After all, how can something SO decadent also be quick and easy to do?
And yet, roasting an entire head in the oven is super straightforward. Leave it to the magic of this amazing aromatic to work such wonders!
You can think of roasting garlic in the oven as more of a process than a recipe.
Garlic lovers rejoice! Roasted cloves are here and they couldn’t be simpler.
Ingredients
For the exact measurements and detailed instructions, you can jump to the recipe.

- Fresh garlic. You’ll want a whole head of garlic (not just a clove!). When selecting make sure you find whole bulbs that are firm and free of mold (Here’s more info on How to Store Garlic). Also, if you are roasting more than just one at a time make sure they are a similar size.
- Oil. Avocado oil is preferred since you’ll be roasting at a high heat. Choose a good quality oil for the best taste. You can also use olive oil if you would prefer.
- Salt. Either a coarser sea salt or a finer salt will both work.
How to Roast Garlic in the Oven
jump to the recipe for the full instructions, ingredient amounts, and a printable recipe.
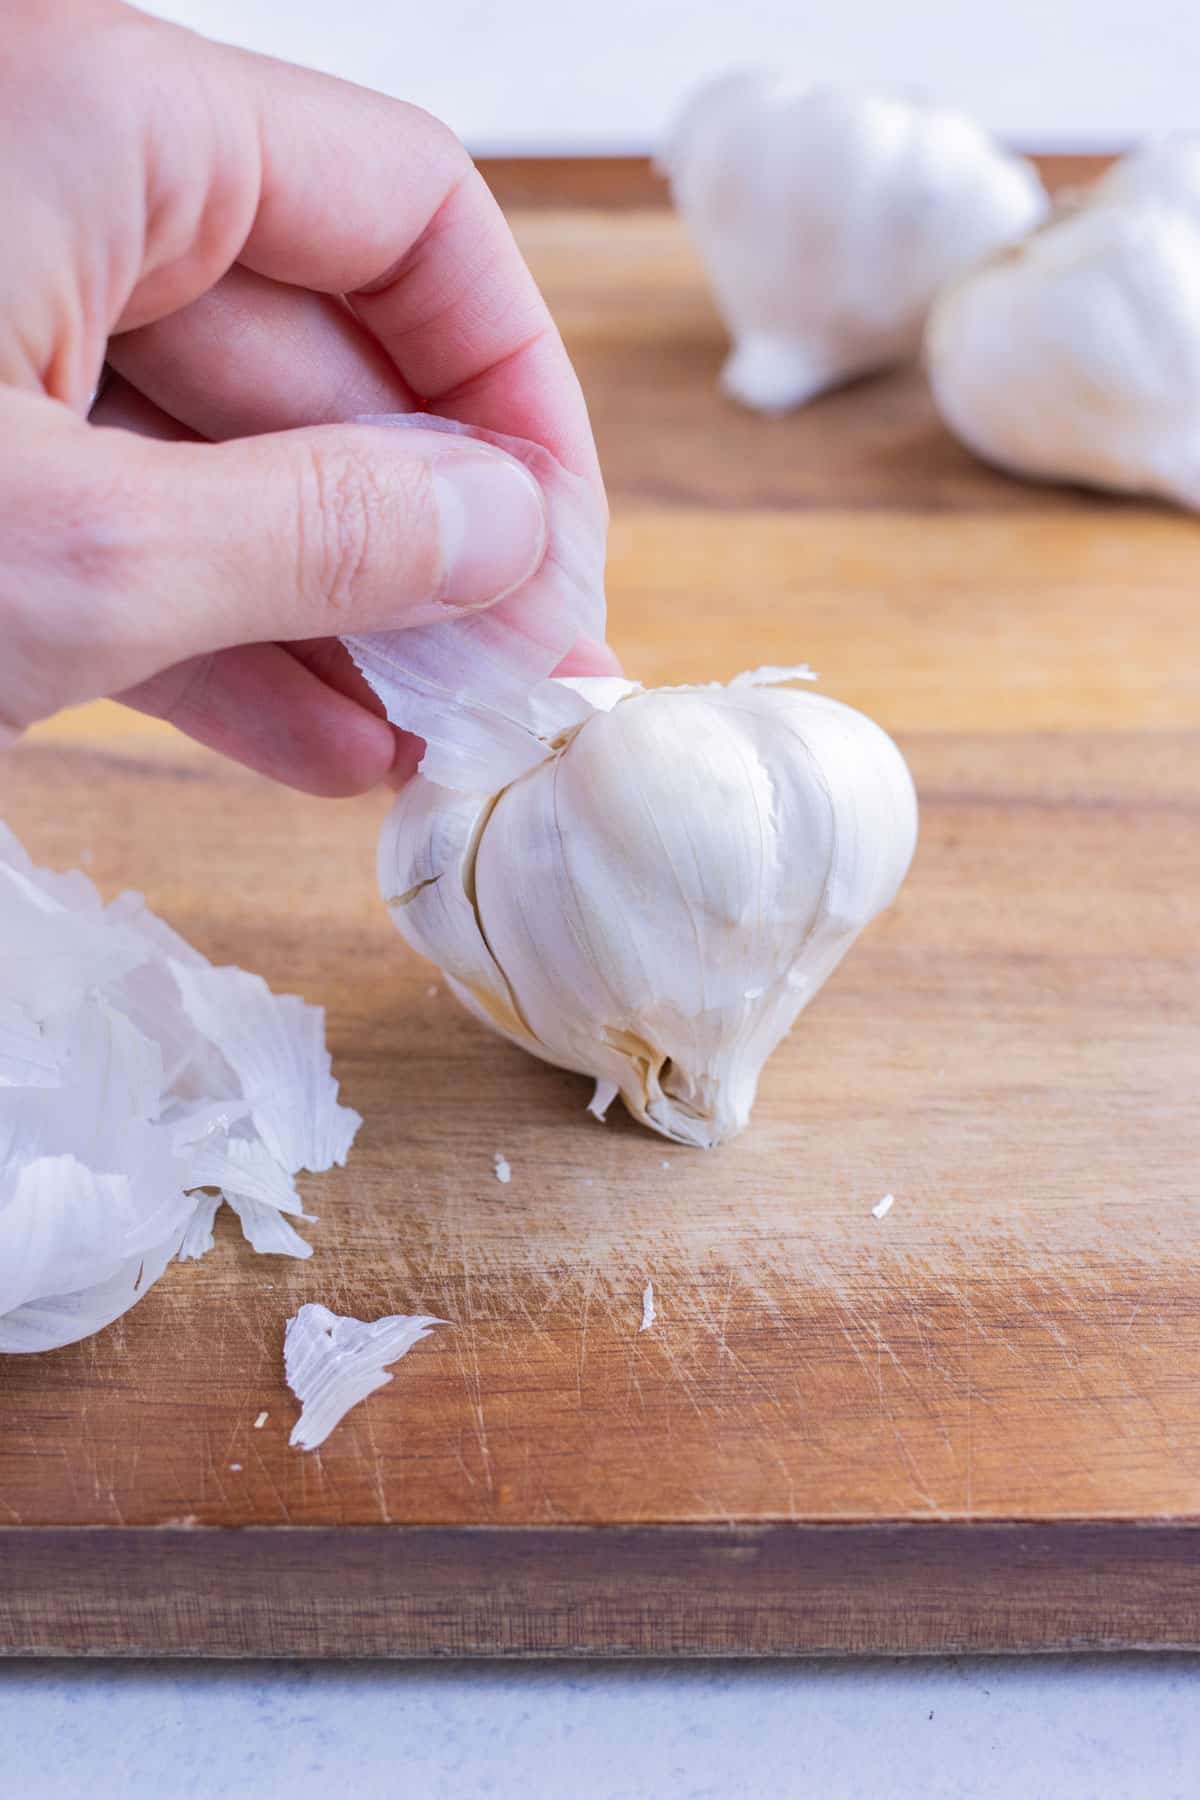
- Peel the skin. Peel and remove almost all of the papery skin from the head(s) of the raw garlic cloves you will be roasting. Stop just before you get to the last layer. You want to keep the skin that is tightly adhered to the cloves intact.
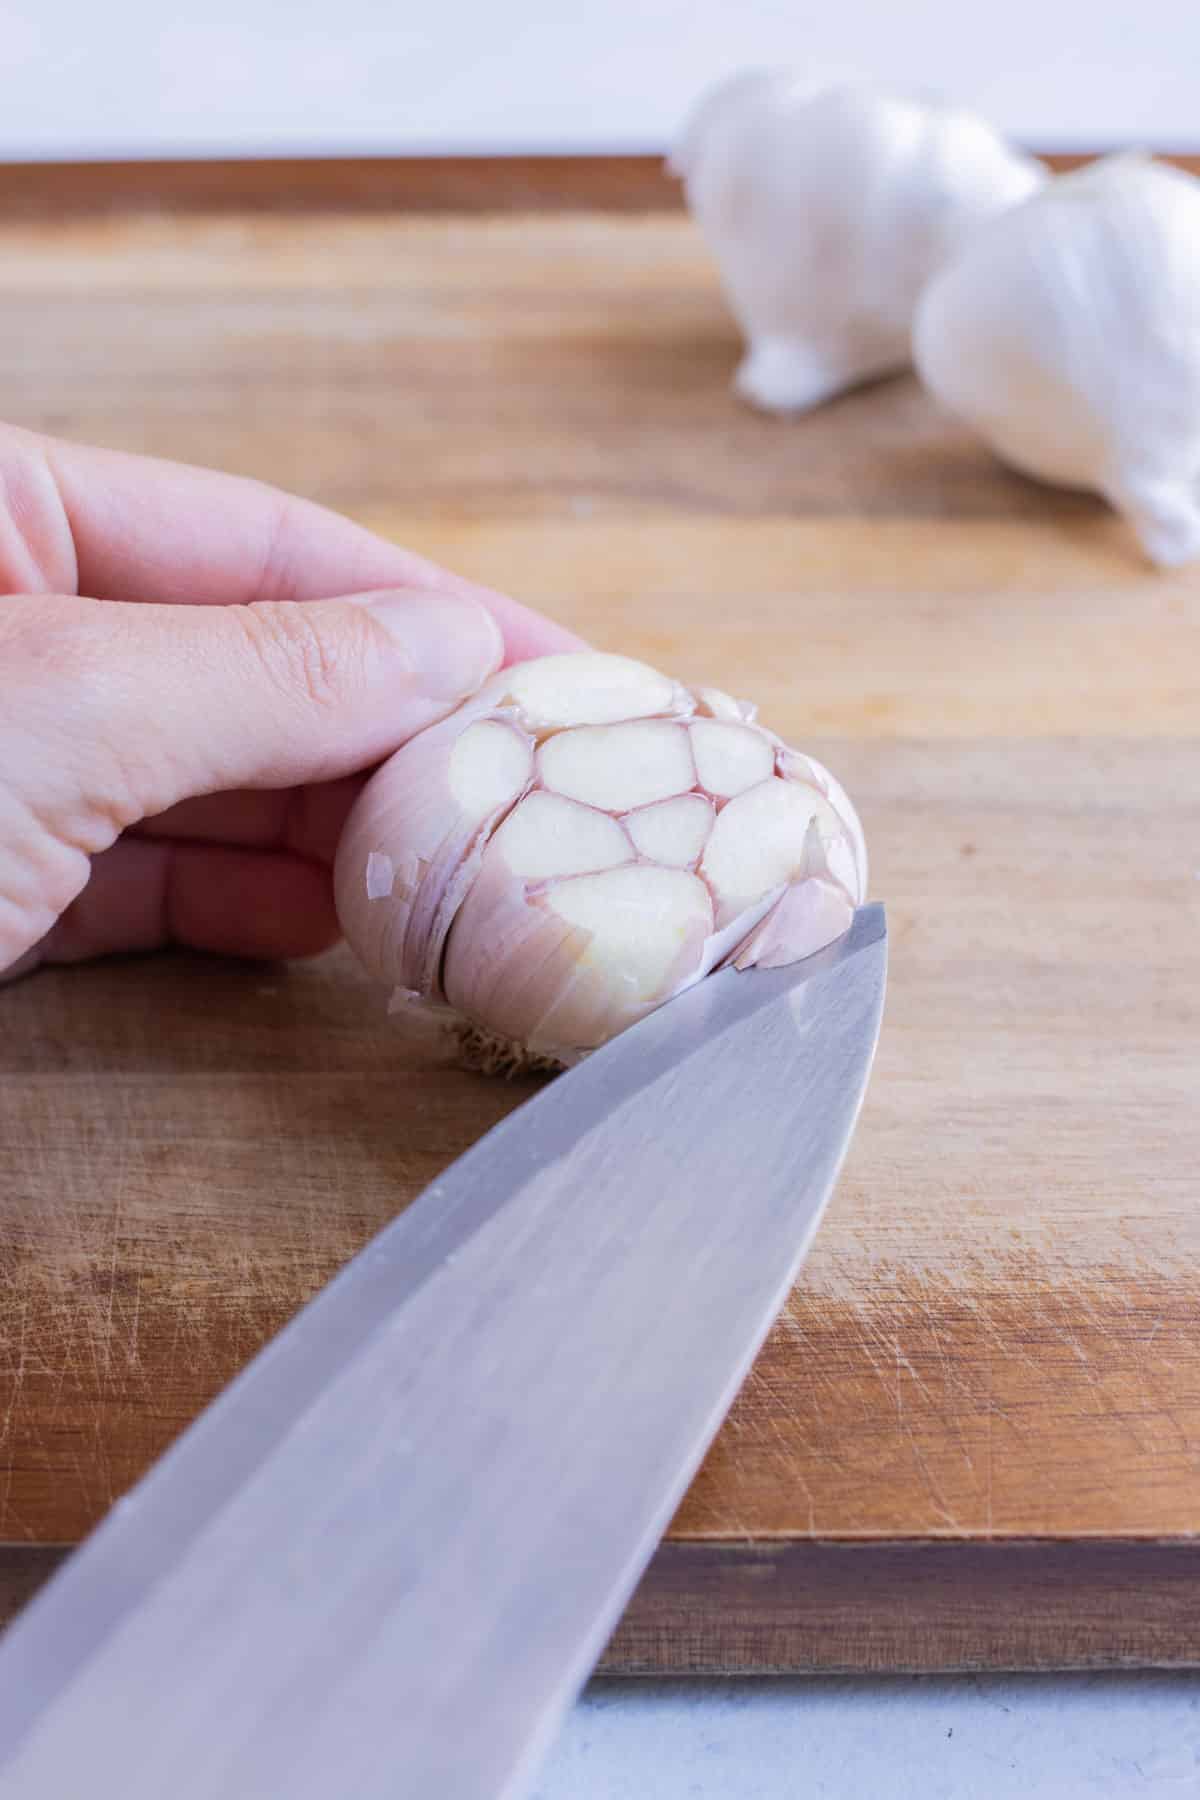
- Expose the cloves. Cut off ½-inch from the tip of the head of the bulb with a sharp knife. If you do not see all of the garlic cloves simply trim around the other cloves so they are all exposed.
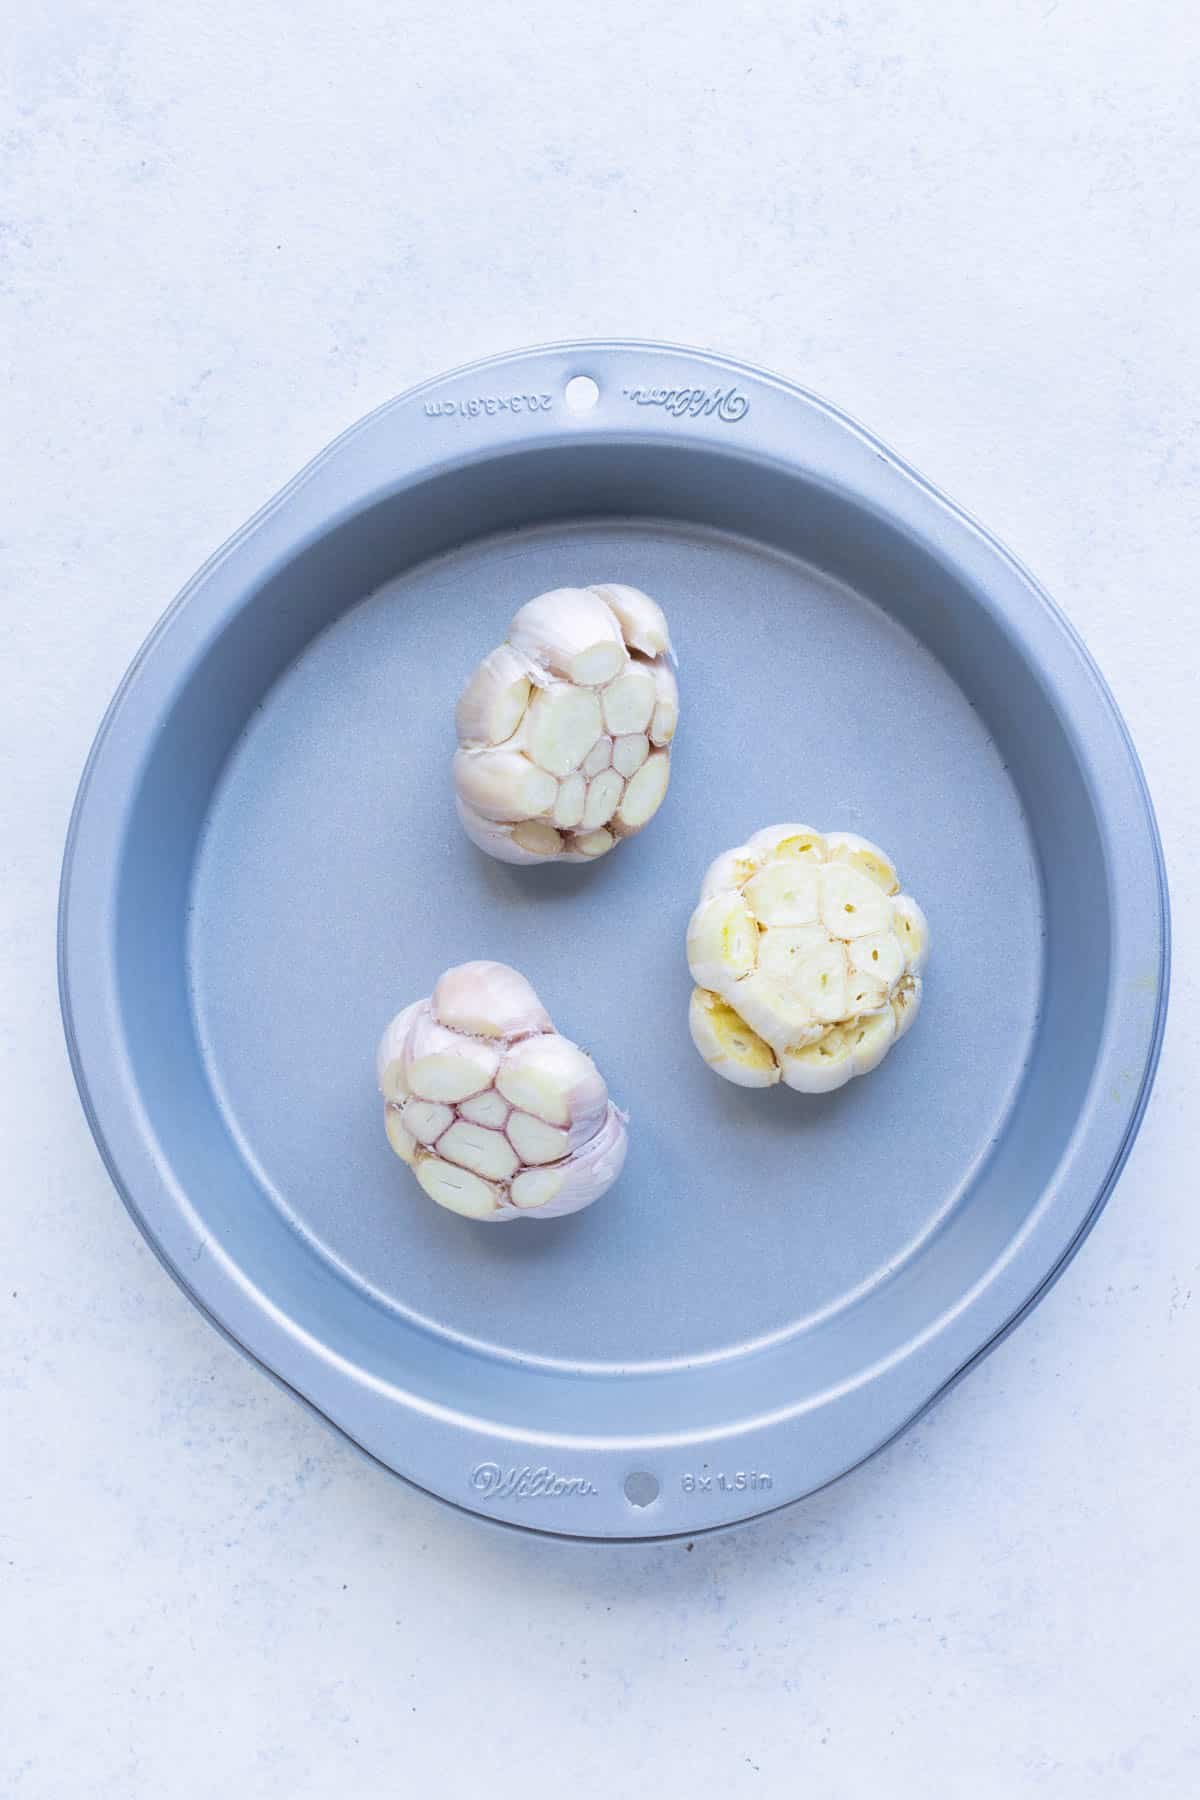
- Drizzle with oil and salt. Rub in a little bit of olive oil and sprinkle the top of the cloves with a pinch of salt. The salt is optional, but it helps to bring out the natural flavor of the roasted garlic.
- Option 1: Cover in a pan. Set each of the prepared heads of garlic in a pan. You can use a loaf pan, muffin, pan, or cake pan. Be sure the cut side is up. Cover the entire pan with parchment paper first, then aluminum foil. Tighten the edges.
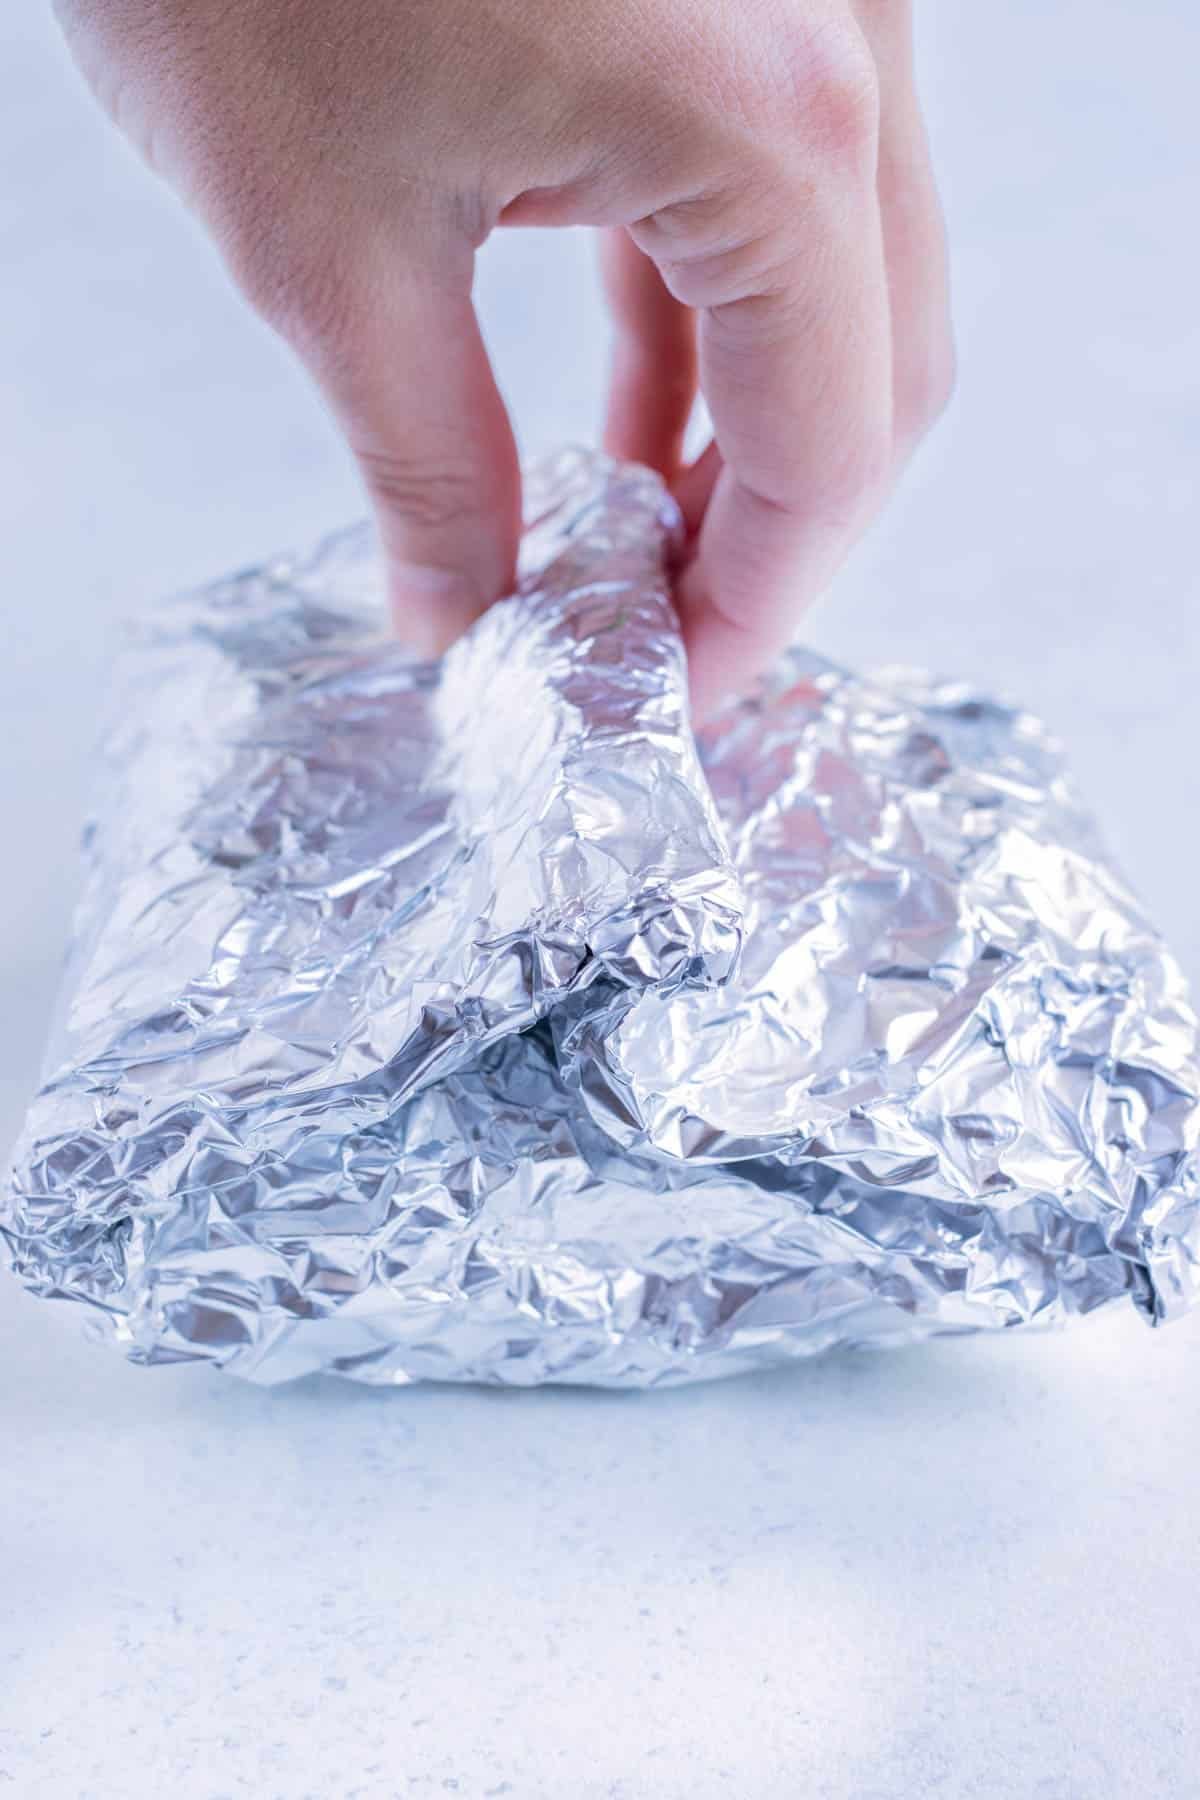
- Option 2: Wrap them with foil. Wrap up the prepared heads in foil. A piece of parchment paper can be added between the foil and the garlic if you’re concerned about the foil contacting your food.
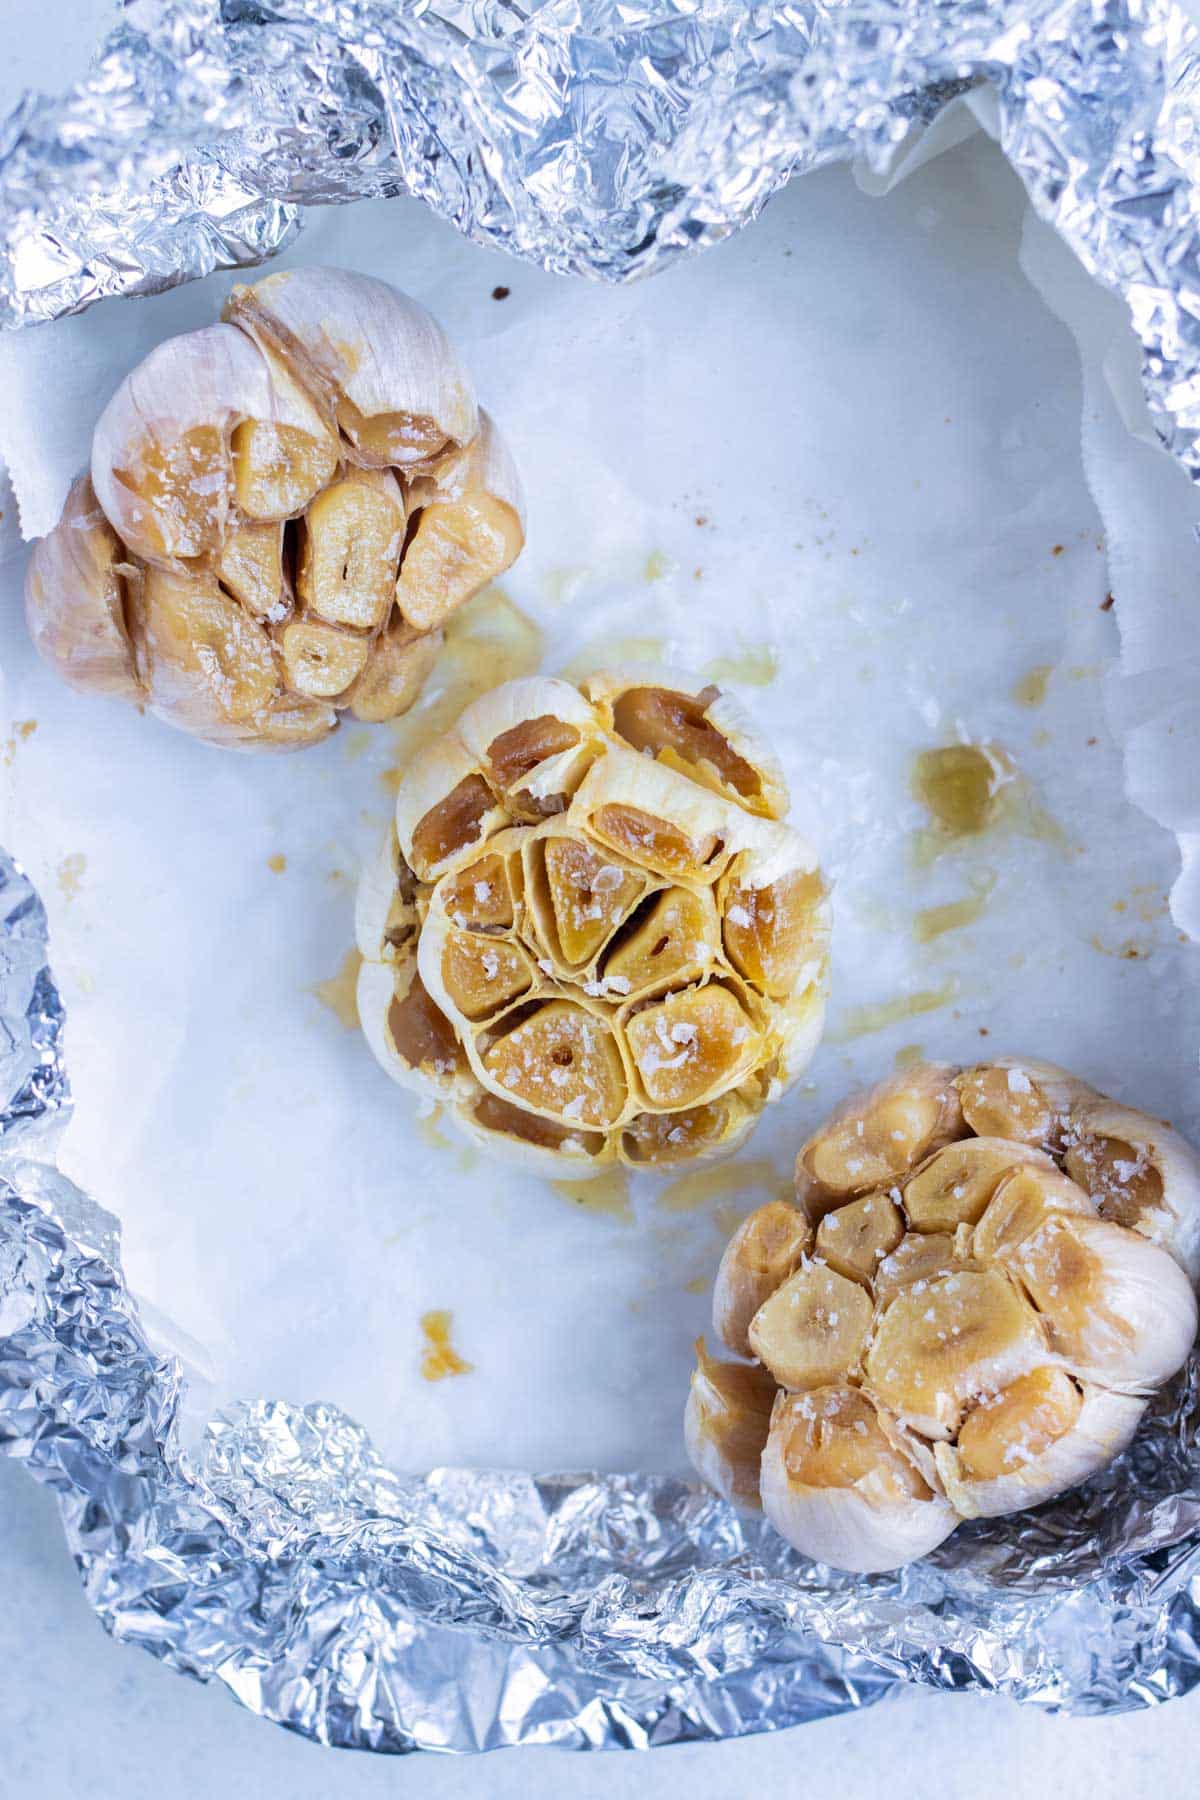
- Roast in the oven. Bake in a preheated 400°F oven for 40-50 minutes. The high oven temperature is important to get the caramelization effect. The amount of time in the oven will largely depend on how large or small the heads are. Check on them at about 40-45 minutes to ensure they do not burn. They should be golden brown.
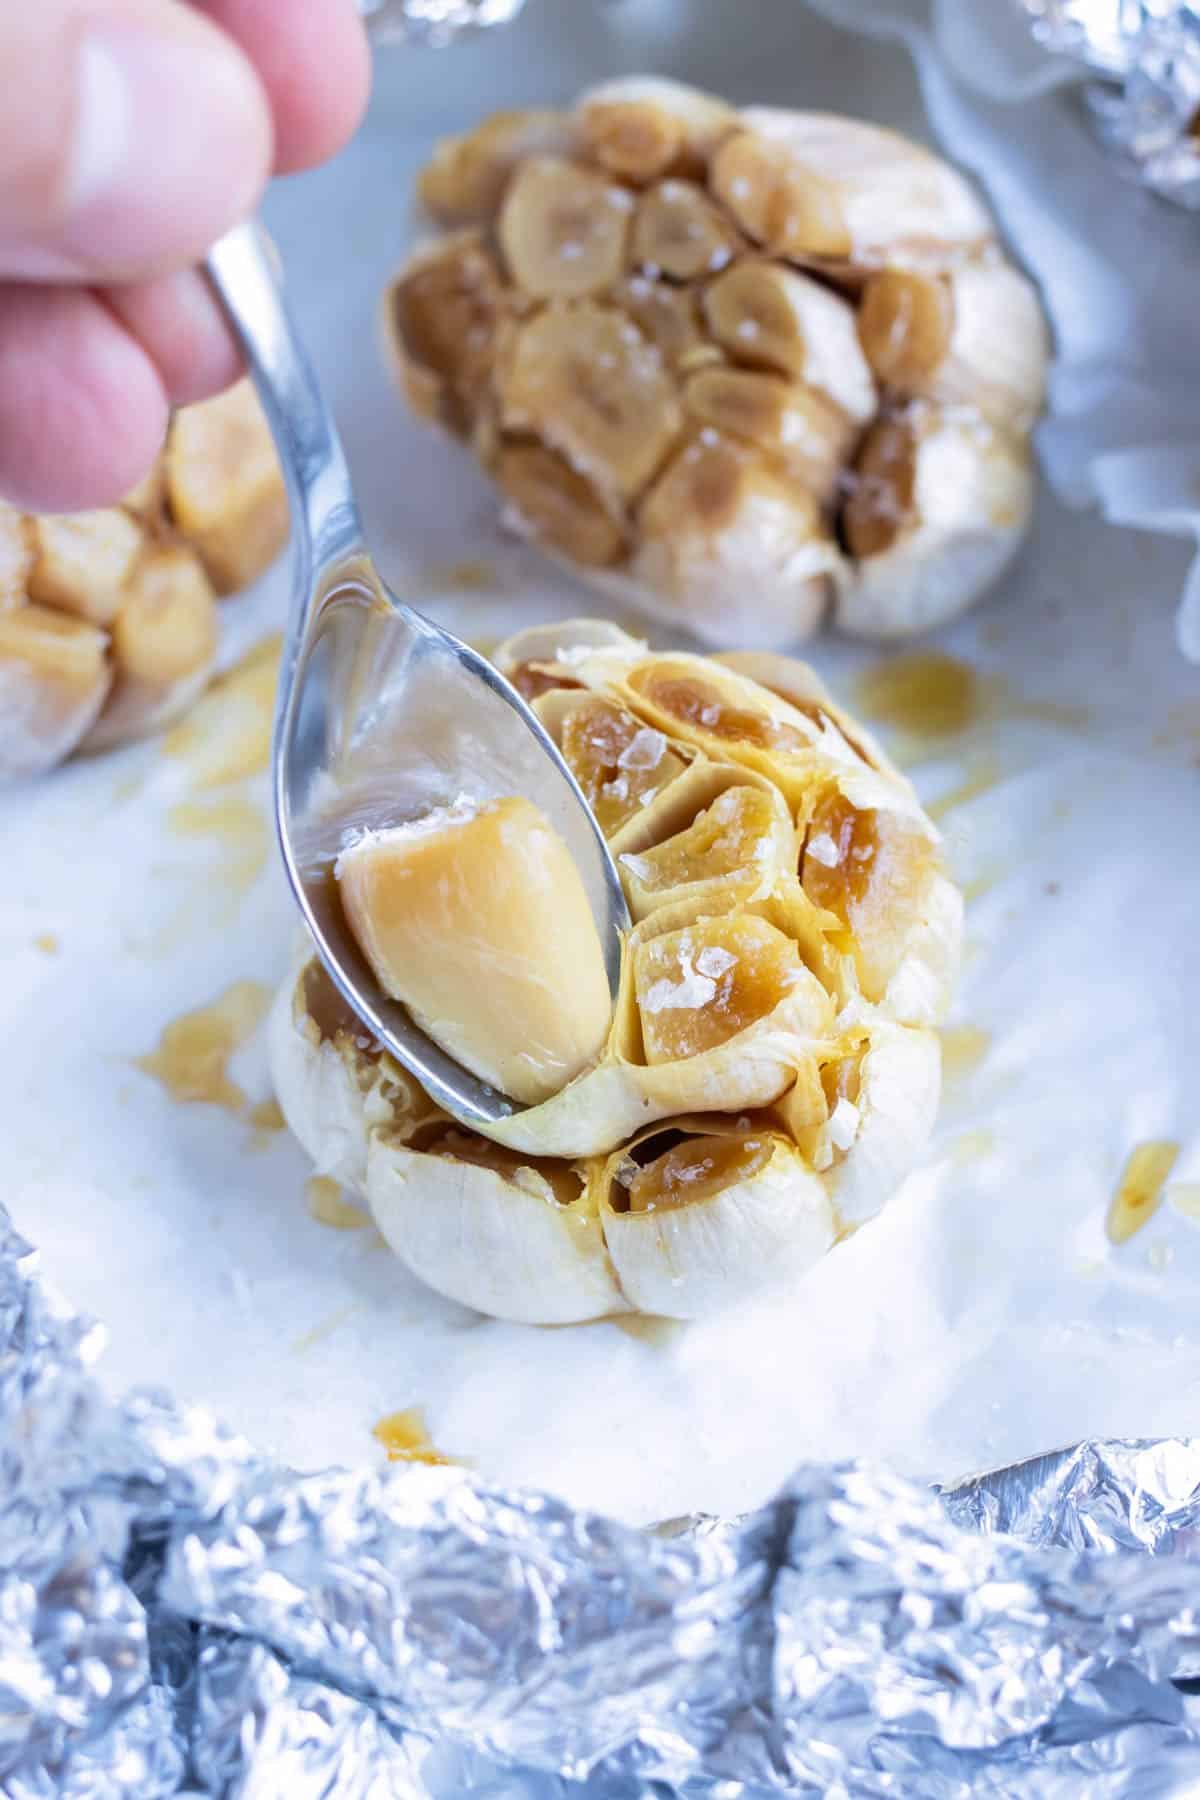
- Remove the cloves. Wait until it has cooled and it is safe to the touch to remove the cloves. The easiest way to do this is to place a small spoon around the rim of each garlic clove, twist it around to loosen up the skin, and then push down to pop out the garlic clove.
Serve them up!
After you roast the cloves, serve them up in different ways, like on crusty bread, in pasta sauce, or even in salad dressings!
Expert Tip: If you do not want to heat up your oven, you can also roast garlic in a skillet by following these instructions. Fair warning: they will not get nearly as soft and tender as they would if roasting them in the oven.
FAQs
No, roasting it does not remove any of the health benefits. Garlic is a low-calorie food that is a good source of vitamin C, vitamin B6, and manganese.
Yes, roasted garlic has quite a different taste than the uncooked version. Once roasted, it is much sweeter, nuttier, and less pungent than raw garlic.
To reduce the chances of burning garlic while roasting, roast whole heads (not cloves) at 400°F and check them after 40 minutes. Depending on the size, whole heads could take up to 60 minutes. When broken up into cloves, it should bake for 20-30 minutes.

Ways to Use Roasted Garlic
You have all of this oven-roasted garlic, now what should you do with it? Here are a few of my favorite recipes:
Use it in this Mashed Cauliflower recipe or add it to Roasted Broccoli.
It’s delicious in an Instant Pot Chicken Vegetable Soup.
(Or one of these other Soup Recipes.)
Serve it up on a toasted baguette with some Roasted Cherry Tomatoes.
Tap stars to rate!
How to Roast Garlic (2 Ways!)
email this recipe!
Ingredients
- 1 or more heads of garlic
- Oil olive or avocado
- Salt
Instructions
Preparing the Garlic:
- Preheat oven to 400 degrees.
- Peel and remove any excess papers around the outer layer of the garlic cloves.1 or more heads of garlic
- Cut the top of the head of garlic to expose all of the garlic cloves. You may need to go around and individually cut each clove on the sides if they were not originally cut.
- Drizzle 1-2 teaspoons of olive or avocado oil onto each head of garlic and rub into the cloves. Sprinkle each head with ¼ – ½ teaspoon of salt.Oil, Salt
- Method 1: Place head(s) of garlic cut side up in a loaf pan, muffin pan, or cake pan. Cover pan with parchment paper and then aluminum foil.
- Method 2: Wrap each head of garlic in a piece of parchment paper and then in a piece of aluminum foil. Place packets on a baking sheet.
- Bake in oven for 40-60 minutes or until cloves are caramelized.
- Remove the foil from the heads of garlic and allow them to cool until safe to the touch.
- Place a small spoon around the rim of each garlic clove, twist it around to loosen up the skin, and push down to pop out the garlic clove. Repeat with remaining cloves.
- Serve roasted garlic with a toasted baguette, use it in a Mashed Cauliflower recipe, or store for up to 3-4 days in the refrigerator.
Tap stars to rate!
Video
Notes
- Nutrition: Nutritional information is for 1 garlic clove and is calculated based on ~15 cloves of garlic in one head of garlic.
- Storage: Keep in an airtight container in the refrigerator for up to 3-4 days, or up to a week if stored in olive oil.
- Freezing: Place the roasted cloves in a single layer on a baking sheet in the freezer. Once frozen, transfer to a freezer-safe bag or airtight container for up to 3 months.
Nutrition
Nutrition information is automatically calculated, so should only be used as an approximation.





Can the roasted garlic be frozen?
Yes, Luci, it absolutely can be!! Just make sure you store it in a freezer-safe container.
Who knew roasting garlic was so easy? I always wanted to try it and finally did. It was amazing. Thank you for making it easy.
Yah it’s pretty crazy how easy it is to do! So happy to hear you enjoyed the recipe!