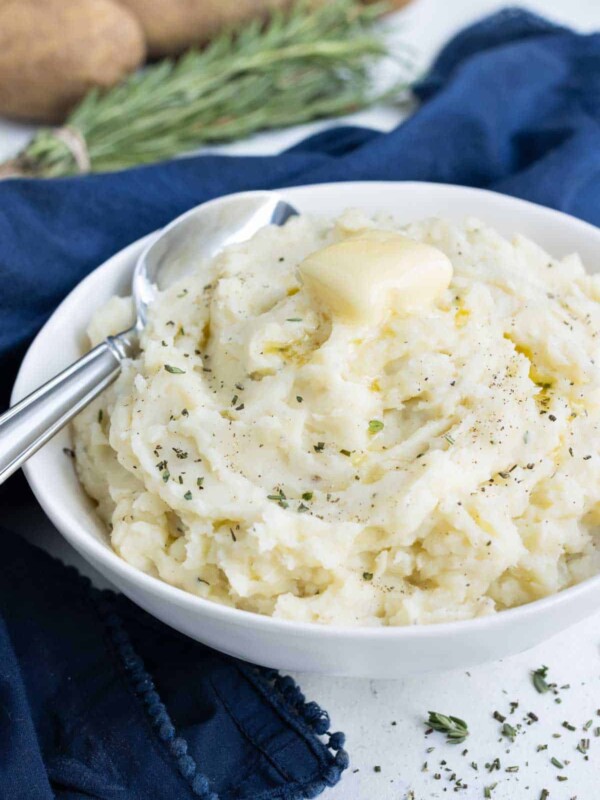
If you haven’t tried Air Fryer Roasted Garlic yet, get ready for a whole new level of flavor! In just 25 minutes, you’ll have perfectly caramelized, buttery cloves that take everything from pasta to toast to mashed potatoes up a notch. Skip the oven and get that deep, rich flavor way faster—this might just become your new favorite way to roast garlic!
London’s Top Tip: For extra flavor, sprinkle a pinch of salt over the garlic cloves before air frying. It brings out their natural sweetness and makes them even more irresistible!

Table of Contents
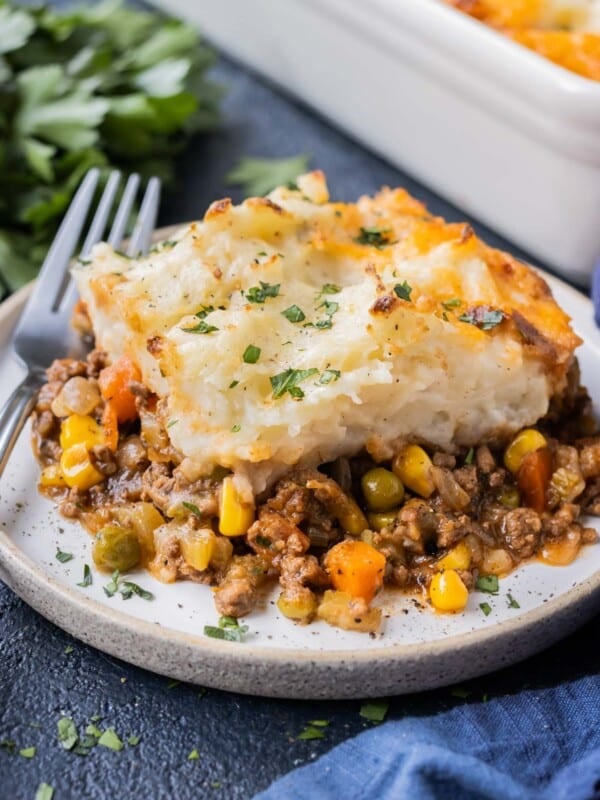
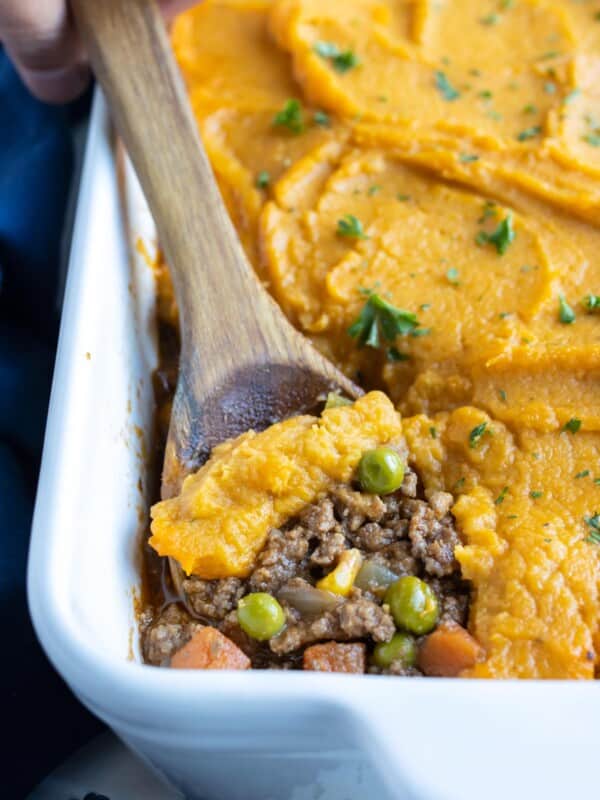
In my world, a dish is never complete without a couple (or 5?!) cloves of garlic in it! But when I really want to make a dish irresistibly delicious and umami-packed, I turn to roasted garlic. It gives a nuttier, richer, slightly sweet taste that’s unlike anything else out there! (This Roasted Garlic Mashed Cauliflower and this Shepherd’s Pie topping are the perfect examples!)
For years, I roasted my garlic in the oven since that was the only way I knew how. And then one day, I thought, “Could this be done in the air fryer?!” Well, my friend, you’re here, so obviously, the answer is a big ol’ YES! Not only can it be done, but it can be done even faster than in the oven.
Ingredients You’ll Need
For the exact measurements and detailed instructions, you can jump to the recipe.

- Garlic. You’ll want heads about the same size if you cook more than 1 at a time. Be sure your garlic is fresh and free from mold or any rotten spots.
- Oil. Avocado oil is the best as it has a high smoke point, but you can opt for olive oil, as well.
How to Make Air Fryer Roasted Garlic
Jump to the recipe for the full instructions, ingredient amounts, and a printable recipe.


- Prep the garlic. It’s important to remove any loose paper from the outside of the garlic. Be sure to keep the bulb intact and the cloves in place. Slice the bulb off, then cut around the sides of the head to ensure all of the cloves are exposed.
- Season the garlic. Drizzle the oil over the bulbs, then sprinkle with salt. You can use a pastry brush or your fingers to spread the oil evenly. Layer some parchment paper over foil, then set the garlic on the parchment paper and wrap them up to form a packet.


- Cook in the air fryer. Set the packet with the garlic in the preheated air fryer and cook at 380°F for 20 to 25 minutes. Note, you might need to add another 5-10 minutes if you have extra heads. The garlic is done when the cloves are soft, spreadable, and lightly golden. They should have a sweet, nutty aroma and easily mash with a fork.
- Open, and serve. When you go to open the packets, be careful of steam. When they cool down enough to touch, use your fingers to gently squeeze the cloves out from the base of the bulb, or pop them out with a spoon.
What to Serve with Roasted Garlic
Roasted garlic goes with so many things! Add them to:
- Burgers
- Pizza
- Soups
- Pasta
- Or simply spread it on some crusty bread!

FAQs
It’s generally recommended to preheat for even cooking, but if you skip this step, just add a couple of minutes to the cooking time.
Yes, you can roast individual cloves, but they may cook faster, so keep an eye on them to prevent burning.
Once cooled, store roasted garlic in an airtight container in the fridge for up to a week. You can also cover it with olive oil to keep it fresh longer.
Yes, roasted garlic freezes well! Pop the cloves out of the bulb, freeze them on a baking sheet, then transfer to an airtight container or freezer bag for up to 3 months.
Absolutely! Roasted garlic is milder and slightly sweet, so it’s a great addition to sauces, spreads, and dressings where raw garlic might be too strong. You can generally use 2x the amount of roasted garlic to raw garlic in a recipe.
Recipes that use Roasted Garlic
Roasted garlic adds so much flavor to a variety of dishes, like these easy options.
Tap stars to rate!
Air Fryer Roasted Garlic

email this recipe!
Ingredients
- 1 head of garlic or up to 5*
- 1 teaspoon olive oil
- Pinch of salt
Instructions
- Preheat an air fryer to 380°F.
- Remove any loose paper from the outside of the garlic bulb, taking care to keep the bulb intact and the cloves attached. Slice the top of the bulb off. Cut around the side of the head to expose any cloves that weren't originally cut.1 head of garlic
- Drizzle garlic all over with 1 teaspoon olive oil and sprinkle with salt. Use a pastry brush or your fingers to gently rub the oil all over the garlic. Place a square piece of parchment paper onto a square piece of aluminum foil and add the garlic bulb. Wrap the foil and paper around the bulb to form a packet.1 teaspoon olive oil, Pinch of salt
- Set the packet in the air fryer basket and cook for 20-25 minutes, or until the cloves are tender and caramelized. If you have more than 2-3 heads, it may take another 5-10 minutes. Remove the packet using tongs or oven mitts.
- Be careful opening the packet as it will release a lot of steam. Once cooled to the touch, push out the cloves by squeezing from the base of the bulb or use a spoon to pop them out.
Tap stars to rate!
Notes
- Cooking multiple: Feel free to use this recipe for more than 1 head of garlic. You’ll want 1 teaspoon of oil for every head of garlic. I’d do no more than 10 at a time. As you increase the amount, you may need to cook the garlic for slightly longer to get the same results.
- Storage: Store in an airtight container in the fridge for up to 3 to 4 days.
- Freezing: Place the cloves in a single layer on a baking sheet in the freezer. Once frozen, transfer to a freezer-safe bag or airtight container for up to 3 months.
Nutrition
Nutrition information is automatically calculated, so should only be used as an approximation.







This was so easy to do!
Yay! So happy to hear you enjoyed the recipe! Thanks so much for taking the time to leave a comment and rating!